Well it’s been awhile. I haven’t been able to bake much in about a year, because reasons, but something I’ve wanted to share is that for my birthday last month, Boyfriend Unit sent me to pastry school at McCall’s for a day! It was absolutely spectacular. I learned to make all sorts of treats.

Cost: $160
Course length: 7 hours
What did we learn:
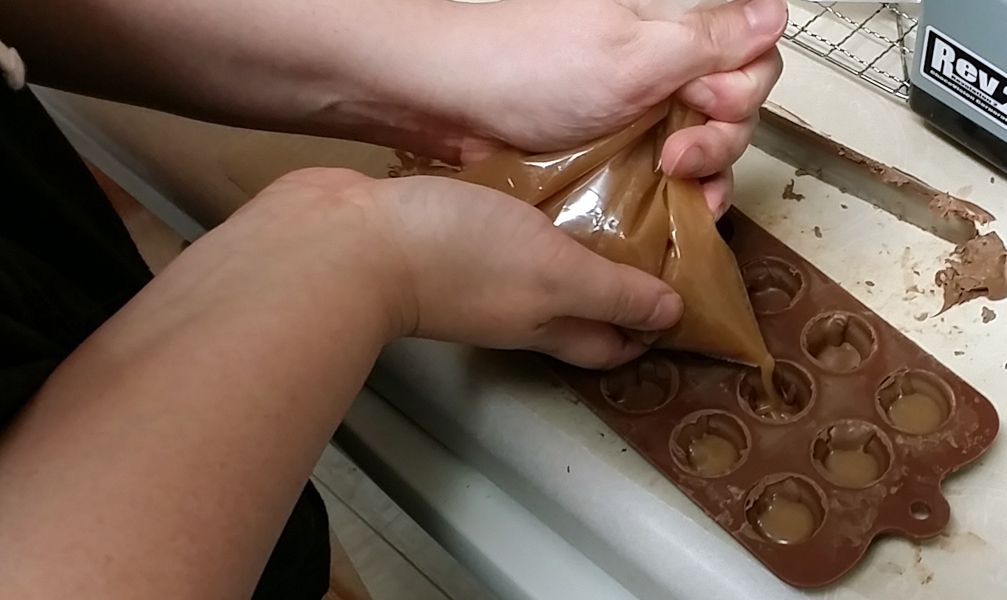
- puff pastry
- pastry cream
- strudel
- Mille-Feuille
- turnovers
- pastry cream
- lots of small pastry and savory stuff too
Once again Kay was my instructor, she is a great teacher and very skilled. I recommend this course to anyone aspiring to learn more about pastry and has an interest in hands-on learning. One day I hope to make pastry as effortlessly as Kay makes it, one day… I made this!!!

A nice feature of McCall’s courses is that the day of the class, you are given a 10% discount on in-store purchases, and a coupon for 10% off the next time you shop there. It’s fun to see the tools in person and figure out what I want vs. what I need to try things at home.
Everything was so delicious too. Puff pastry is a lot of work. It takes hours and requires a lot of folding the dough, letting it rest and chill, and rolling it out to fold again. It was actually pretty exhausting.
For a few years I’ve been reading about pricing in the baking industry; how people balk at the cost of large items like wedding cakes or mass amounts of pastry, but think nothing of going to a restaurant and paying $6 to $12 for one dessert. After these work shop I’m convinced pastry is under priced. What you pay is not only priced to cover ingredient cost and overhead, it has to account for the skill of the baker and the time it takes to prepare baked goods. Someone is working that dough for hours and they have spent years honing their craft. If you are in a nice restaurant try their pastry! Most times it’s worth your while. 🙂