This week I attended the Pure Chocolate Workshop at McCall’s School of Cake Decoration with Boyfriend Unit. I was hoping to learn more about making good creamy fillings for my chocolates. I rank my knowledge level close to intermediate, I know how to temper by hand, I dabble in recipe crafting, but so far my creations lack a certain “oomph”. I was really excited to learn from a professional. And what I made after I got home, well… you’ll see.
Cost: $75 per person
Course length: 3 hours
What did we learn:
- introduction to couverture chocolate and how to handle it
- melting and tempering
- working chocolate (tabling) on a marble slab
- dipping chocolate
- types of fillings and shelf life
- storage and temperature
- moulding and filling
If you’re in the GTA, McCall’s is on Bloor St West between Kipling and Islington, we walked up from Kipling Station. This course is offered once per season. I’ve never been to McCall’s before, and the inside is a lot bigger than you can tell from the street view. There is a retail shop in the front and a teaching kitchen in the back. It was filled with all sorts of glorious machines and tools that I wanted to cart home.

Our instructor was Kay, who has 30+ years industry experience. She was very knowledgable, and funny. She spent some time talking about different brands of fine chocolate, the conching and tempering process. I have tempered on stove top via double boiler, and in the microwave, and with a professional tempering machine. I have never tabled chocolate on a marble slab before and that is the method we learned.

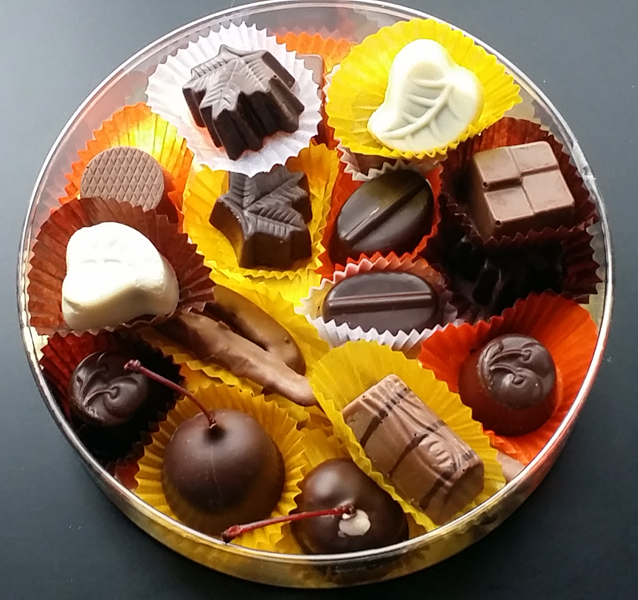
^ the box of everything we made in the course
I’m glad I got to try tabling chocolate, but never again! We screwed up the milk chocolate twice before she intervened. How embarrassing. We got to work with polycarbonate moulds, and learned some different techniques to get pretty designs on the chocolate.
I learned a lot, and had a great time. I’d recommend this course to anybody who wants to learn more about working with chocolate.
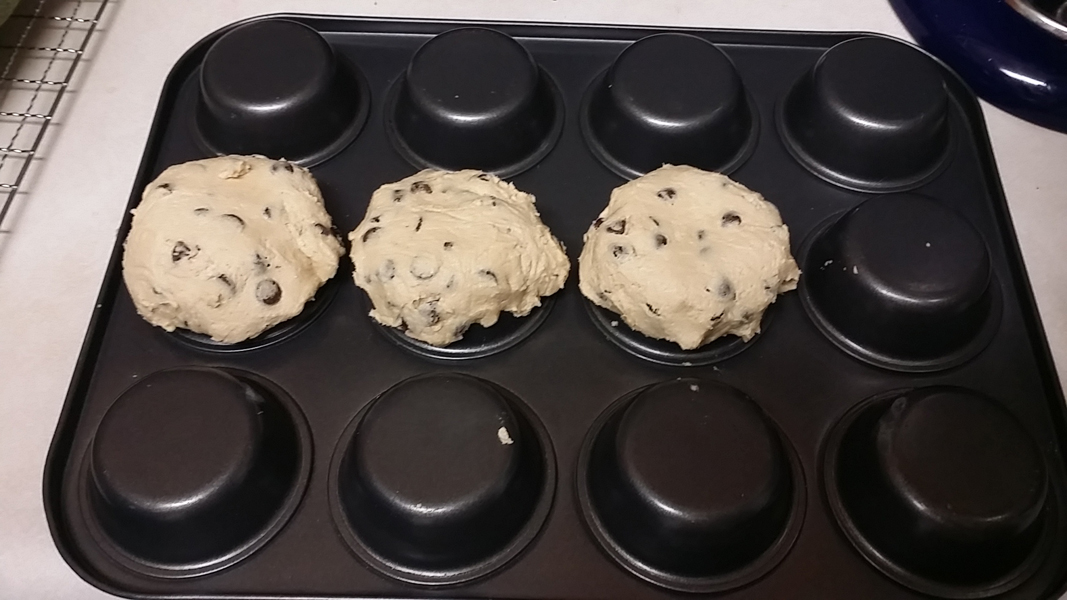
What I made when I got home:
When she showed us how to coat a mould, everybody said “Ooooh” at the same time, and I decided to try it out on my silicone moulds.
After you temper some chocolate, pour it into your mould until it overflows. Don’t worry about being neat or even. Now whack it on the counter to remove air bubbles and ensure the entire cavity is filled.
You turn it upside down so all the chocolate drips out onto the parchment paper (see top right) and use a palette scrape to pull the excess away.Turn it and shake it a bit to get an even coating, and don’t throw the excess away, once it sets, it is easily peeled off the parchment paper and you save it to re-temper.) You end up with moulds coated in chocolate with hollow centres.

This will set in under 20 minutes, and then IT IS TIME.
Pipe in the homemade caramel sauce!
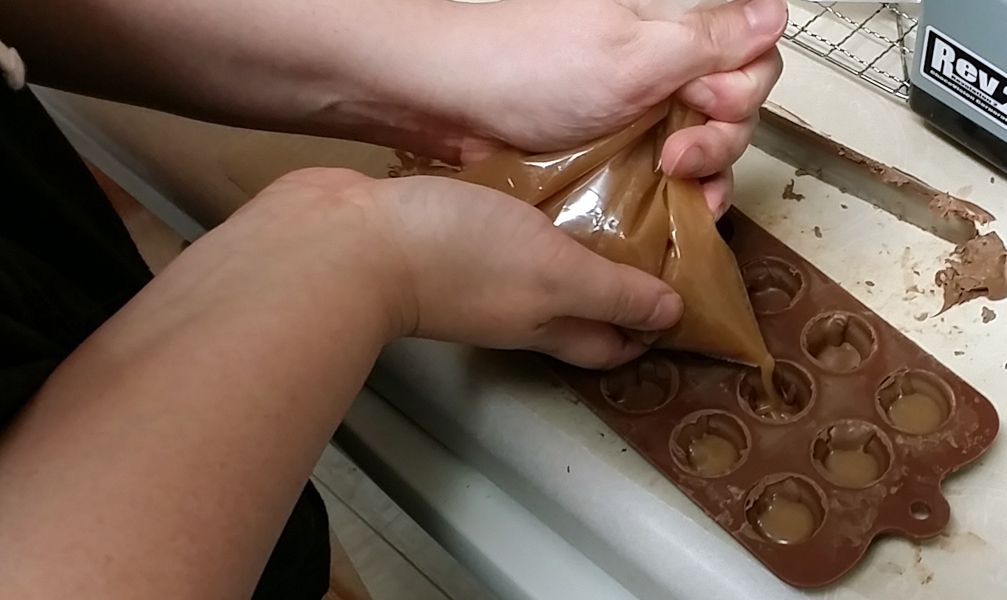
Tap to settle it, and top up with more tempered chocolate. Again scrape away the excess.
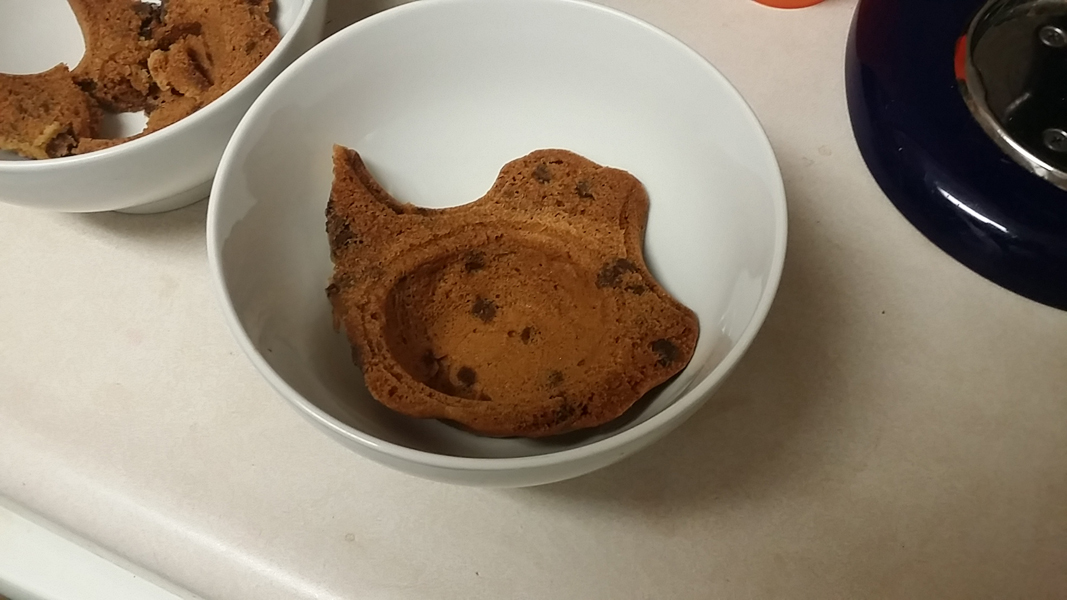
And in about half an hour, you have this!

Tah-dah!

I mean, just look at it!

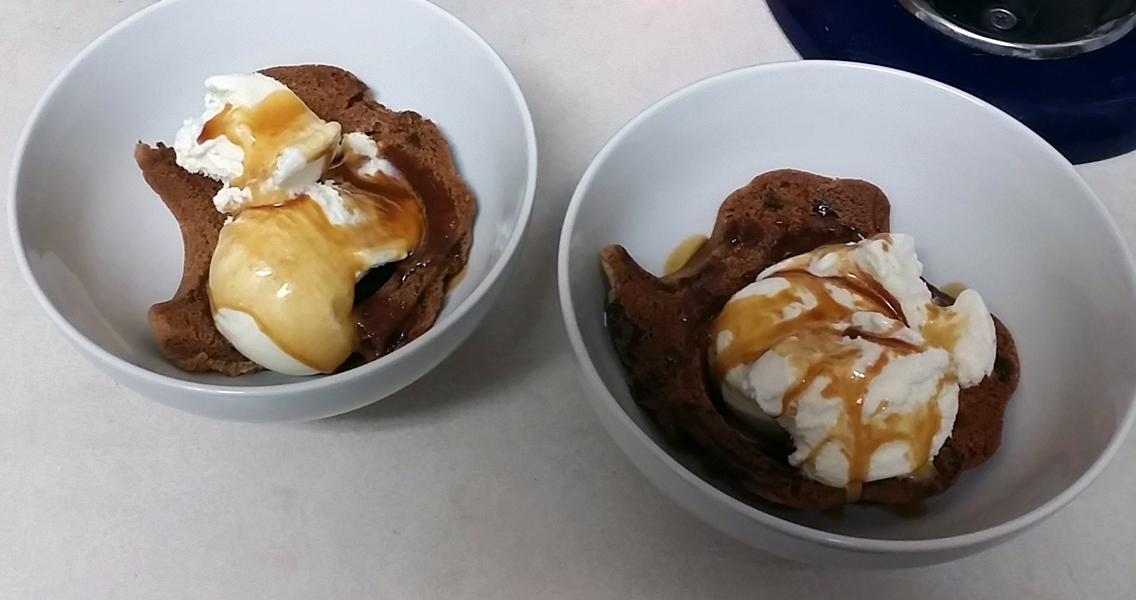
Glorious! This is so much better than the hard caramels I’ve made before. I am so excited to send this to my family in December.