Yesterday I purchased a new cookbook, Good Housekeeping Brownies: favourite recipes for Blondies, Bars & Brownies, which is available on Amazon.com and Amazon.ca.
This is the 2nd GH cookbook I own and I like their style because they are sturdy books with a ring binding, easy to prop up, and have decent pictures. I’m not a big brownie fan, and consequently have only made them 2-3 times before, from a mix.
This recipe caught my eye. Seemed like a good one to try from scratch.

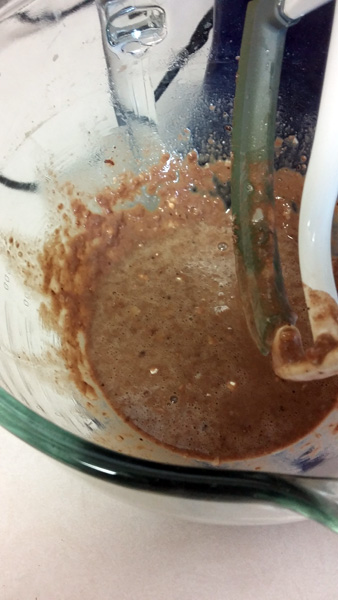
Mmmm smells like milkshake
Time required: 20 min prep, 20 min bake, and 1-2 hour cooling
Yields: 32 squares
Cost per brownie: 38 cents
Total cost if you have none of the ingredients: $50.00
Special kitchen implements I used:

getting started
Good to know before you start:
Altogether you need just under 2 whole sticks of butter, but divided into separate (and not equal) parts for the batter and frosting.
A 100g bag of Maltesers is about 1C. The official recipe calls for 1½C of the candies, so you’d need 2 packages. I had 2 packages but um…. ate quite a few of them while preparing my batter. 1C is fine.
Official baking time is 25-30 minutes, but I removed mine from the oven after 20 minutes, and found that after cooling they were a bit dry. The frosting was applied last night and it still hasn’t set, I suppose it will stay gooey?
Brownie recipe:
- 1½C flour
- ½TSP baking powder
- ½TSP salt
- ¾C unsalted butter, softened (1.5 sticks)
- 4 ounces semi-sweet chocolate (4 squares)
- 2 ounces unsweetened chocolate (2 squares)
- 1½C granulated white sugar
- 1 TBSP vanilla extract
- 4 large eggs, room temp
Frosting recipe:
- ¾C malted milk powder
- 3 TBSP milk
- 1 TSP vanilla extract
- 3 TBSP unsalted butter, softened
- 1C icing sugar
- 1C malted milk balls, quartered
Step 1 – use centre rack, pre-heat oven to 176°C / 350°F.
Step 2 – line a 9″ x 13″ pan with tinfoil, wrap the foil over the outside of the pan to get the shape, then transfer to inside of pan, flatten down, and grease.

fitting tinfoil to the pan
Step 3 – make batter, using whisk to combine 3 ingredients in a medium bowl; flour, baking powder, and salt. Set aside.
Step 4 – melt butter in sauce pan on Low. Meanwhile…
Step 5 – use serrated blade to chop chocolate

Step 6 – add chocolate to melted butter (still on Low), stir until melted, then remove from heat

Step 7 – use wooden spoon to mix sugar into chocolate, then vanilla – stir until thoroughly blended

Step 8 – beat eggs into chocolate

Step 9 -Transfer chocolate to a large mixing bowl, and add the flour about one third at a time, mixing until blended. (My sauce pan is too small to add the flour to the chocolate in the original pan). Colour lightens quite a bit.

Step 10 – pour batter into foil-lined pan, bake at least 20 minutes. When done, a toothpick inserted about an inch from the edge should be clean.

Step 11 – leave in pan, cool on rack completely. Meanwhile…

Step 12 – make frosting; using a whisk in a small bowl to stir together3 ingredients; malted milk powder, milk, and vanilla.

Step 13 – cream in butter until blended, I used a pastry blender for this

Step 14 – cut in icing sugar, about one third at a time

Step 15 – spread frosting evenly over brownie

Step 16 – chop each malted candy in half, and then halve each piece again (quartering them), sprinkle on top of frosted brownie – let set

About half of the malt pieces are added here:

Step 17 – after frosting has set, lift entire brownie from the pan using the tinfoil edges. Peel tinfoil away. Use sharp knife to slice lengthwise into 4 strips, then cut each strip crosswise into 8 pieces.

I had to beat Boyfriend away with a spoon to keep him from plundering the pan while they set, haha. I enjoyed these a lot. Now I’ve got a serious milkshake craving, and since I’m in possession of a blender and malt power, I’m off to procure some ice cream today. ^^
If you are curious about why I post the total cost of ingredients I will talk about that soon.