Blast. I was really looking forward to this. How disappointing.

This recipe comes from Old Tyme Fudge. I love that website. I’m pretty sure it’s a great recipe and I screwed up. Phooey.
I wrote up this post last night after I put the fudge sludge in the pan. So, just pretend it set and follow along.
Before you get started: Have you read my fudge guide? I have done this successfully before, I swear.
Time required: 8.5 hours (about 1 hour of actual doing stuff)
Yields: about 30 pieces
Total cost if you have none of the ingredients: $34.
Cost per piece: $1.14
Kitchen implements I used:
- KitchenAid mixer
- 8″ square pan
- tin foil
- heavy-bottomed sauce pan (2.2 qt size is not big enough)
- silicon spatula
- lots of extra spoons
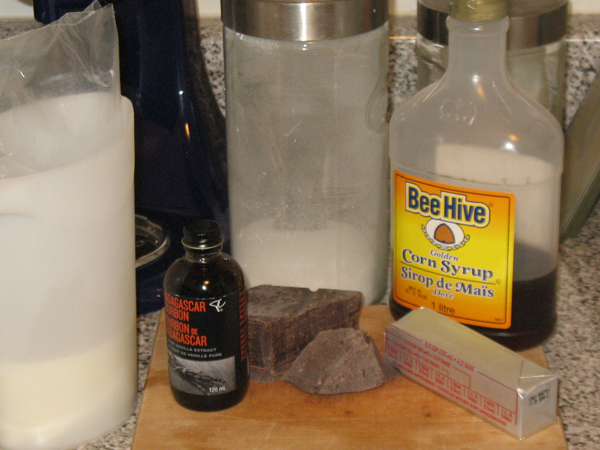
Ingredients:
- 4 oz unsweetened chocolate (I used Callebaut Belgian chocolate)
- 3 C sugar
- 2 TBSP corn syrup
- 1¼ C milk
- 4 TBSP butter
- 1 tsp vanilla
Instructions:
1. Line the square pan with foil and grease it. Also grease the entire inside of the sauce pan, all the way up the sides. Grease the flat beater of the mixer too.
2. Chop the chocolate and melt on Low heat until smooth.

3. Combine everything in the sauce pan except the butter and the vanilla. Heat on Medium, stirring constantly.

And definitely using a bigger pot next time.

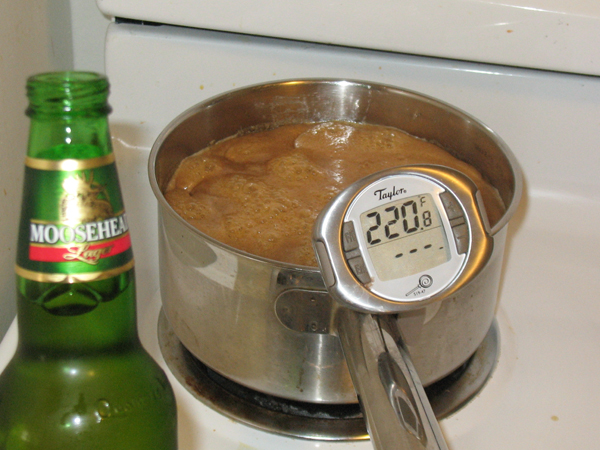
4. Once mixture boils, reduce heat to Med-Low and STOP STIRRING. Insert candy thermometer.
Yikes. This is almost disaster territory. Perhaps this was a portent of things to come.

5. Once mixture reaches 238°F / 114°C, remove from heat.
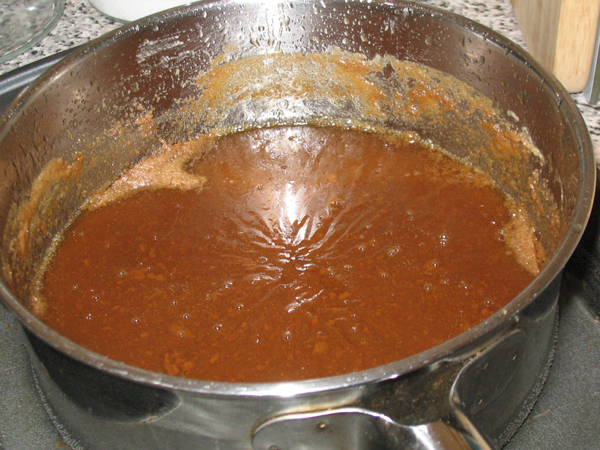
6. Carefully place pot into cold water bath. Add butter but DO NOT STIR.

7. Let it cool (it only took 30 min this time) until temp falls to 120°F / 49°C.

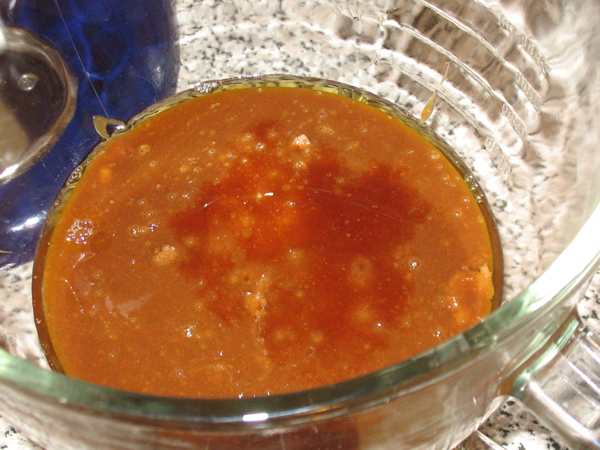
Once the mixture has cooled to this stage, there will be a skim on top, just ignore it. Transfer to mixing bowl and pour in the vanilla.

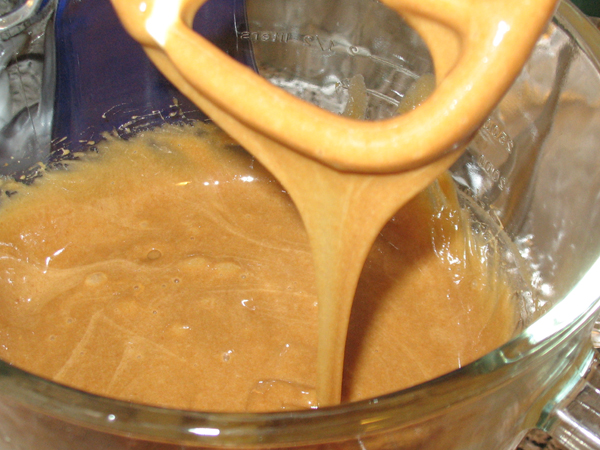
8. Beat it. How long? Who knows.

I planned to do 28 minutes on speed 2 which worked great for my penuche batch, but after 13 minutes it has acquired “that frosting look” which I’ve read about before.

9. Pour into prepared pan and smooth, let sit at least 4 hours.
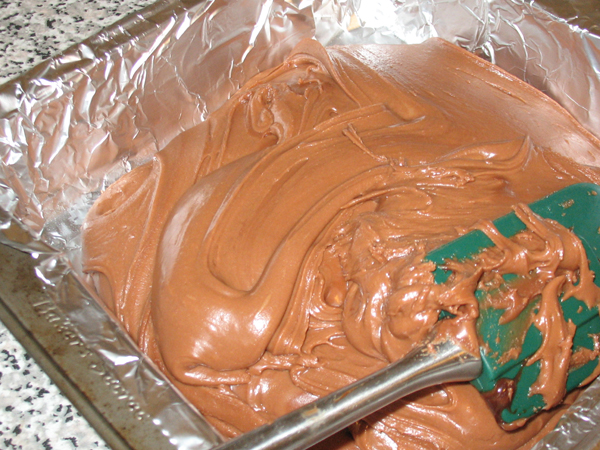
10. Lift out of pan and score the top with a knife, then slice into squares.
What’s this what’s this?!
Argh!!

God, no! That is never a good sign. Fudge shouldn’t rise with the knife.

Verdict: It tastes delicious but is a failure. Supposedly fudge is ready to be poured once it looks like frosting. Whoever said that can go directly to hell and not pass go. I will freeze this until I figure out what to do with it. I’ll try this again soon, stay tuned.
Playlist: 46 albums of Sailor Moon music!