Confessions of a chocolatier

Today I’m mentally regrouping my thoughts on chocolate; the experiments I’m going to do once the heat stops, my stock of supplies, what to order by mid-November, and what I’m making next Christmas. Yes, I was getting tired of muffin posts too.

I shall show you my chocolate book! While I’m immersed in chocolate this book is never far, and most of the pages are stained with my work. If I have a particularly brilliant thought, I holler at Spousal Unit to come take over the chocolate for a minute while I jot down my ideas.

20160803_163927

This page was from the day I was doing course work for my École chocolat class.  I had an assignment to temper chocolate using the tabliering method, then the seeding method, and what that lesson taught me is that while knowing how to temper by hand is a solid skill to have, I love having a machine do it for me!

Once I’ve got enough notes on a particular topic, I summarize what I’ve learned. It’s an easy way to give myself a refresher when it’s time to roll my sleeves up; when making matcha ganache you should be generous with the matcha powder or the flavour is weak, to cut the caramel recipe in half for the Christmas chocolates, (actually caramel has an entire page devoted to its complexities), don’t buy the Toblerone in advance or you’re buying last year’s stale stock, how many drops of flavouring oil is needed to get the right flavour to the ganache, things like that.

It’s also where I draw out my ideas for new chocolates and flavour pairings. Rooibos tea-infused ganache? Yes please.

In case of a computer problem, it’s good to have my important information on hand, such as the actual product codes of my preferred chocolate (online invoices don’t always specify and it’s rather critical when trying to source your favourite cacao percentages!), the quantity of each chocolate I actually need, the product codes of the boxes I buy, which merchants have the best prices, their shipping and sale times, the costs of my past orders, everything I need to go forward if my computer explodes.

Advertisement

Christmas chocolates 2015

This year we made the best box of chocolates so far, and created a new flavour. As usual I worked with Callebaut, opted for a less sweet white, but kept the same cocoa solid percentages for the others:

  • milk chocolate 823NV, 33.6% cocoa solids, 21.8 milk solids
  • dark (semi-sweet) 811NV, 54.5% cocoa solids
  • dark 70-30-38NV, 70.5% cocoa solids
  • white CW2NV, 25.9% cocoa solids, 23.7% milk solids

Ran into  a lot of trouble with fat bloom, starting with the Toblerone.

20151129_141101

I paid it no mind and got to work.

Later I had switched to the Callebaut and got bloom 3 times in a row.

20151130_095524

WTF.

20151205_092005

I know how to temper.  What is going on here?  I think it was the heat in my home, we ended up opening all the windows, and after that the problem went away, so I just remelted all the chocolate without fillings or centres.

20151207_120122

Ah! Ever so much better! I just love those little ornament shapes.

20151207_204709

Tried a new flavour this year, white chocolate vanilla bean with matcha ganache.  It was good. I have embraced using a squeeze bottle to pipe my fillings now and does it ever work better than a piping bag.

20151209_205244

I was quite happy with the peppermints this year. I switched the centre to a milk chocolate peppermint ganache, and it came out very delicious and creamy. Much better than previous years.

20151214_093931.jpg

After a few nights of tempering and filling like mad, the boxes were all made up and ready for shipping to my family.

20151214_152857

I always have such fun making these.  Even though sometimes I want to throw all my chocolatiering supplies off the balcony…

20151214_153112

So now that I’m back to making chocolate again, and looking after my blog again, what I have planned for the winter of 2016 is mostly flavour experiments and review of new products I’ve tried and courses I’ve taken.

Where to get supplies:

Toblerone truffles

So, my plan was to pipe Toblerone ganache into truffle shells, and dip them into perfectly tempered semi-sweet Belgian chocolate. I was envisioning something like a Lindt chocolate. After all, I had done this successfully before under the guidance of Hobby Victim and I was confident I could produce something worth keeping.

IMG_3216

Do you have any idea how annoying it is to pipe ganache?  Seriously? It sucks. It starts out simply enough. Take some truffle shells and dipping tools.

IMG_3197

Wrangle the ganache into a piping bag like a champion.

IMG_3207

Plan to snip a tiny corner off, and overdo it.  “Pipe” ganache into the shells.

IMG_3208

And by pipe I mean try to at least get some of the god damn stuff into the shell. At one point the chocolate shot out of the bag and got *everywhere*.  On the 3rd tray I got fed up and stopped.

IMG_3209

Now, dipping the first one looks so neat and contained. A perfect little truffle waiting to be enrobed in Belgian chocolate.

IMG_3210

However, all good things come to an end and after you’ve filled about half the tray, dripping chocolate starts to get everywhere. But after enough of them are dipped, a sense of pride starts to build. Smile at what you have wrought.

IMG-20131231-01551

After all, the tiny imperfections are the charm of homemade chocolates! They tasted pretty good, but the fillings hardened the next day, so I’m going to put some more experimentation into how to get a Lindt-like centre. Need a little more time at the drawing board for these but overall a success.

IMG_3211

Playlist: Celldweller


Ganache gone wild – WTF just happened

Ugh. On Sunday I spent 2.5 hours making a perfectly emulsified ganache for an experiment. I let it chill overnight, and it solidified. I am so steamed.

IMG_3202

Ganache is typically equal parts scalded cream to chopped chocolate, in this case Toblerone.  To achieve a proper ganache that doesn’t crack or separate, you need to emulsify it.  Emulsification is the process of combining two or more liquids, which normally don’t combine, into one. (Basically you stir and rest, stir and rest, chill, pass Go, collect two hundred dollars.) It was all going so well…

IMG_3185

I poured the heated cream onto the chocolate and let it sit for bit, and then stirred every 15 minutes, for 2 hours.

IMG_3189

The hell with stirring by hand. I’ll let Nemo do the work for me. After all that is what I have a stand mixer for, who wants to stand there the entire time? I have video games to play.

IMG_3192

After 2 hours, it had lightened considerably, and had a smooth texture. All okay so far.

So I covered it with saran, and stupidly forgot to press it down to the surface, so the surface hardened.

IMG_3194

I intended to use it on Monday but I was busy. I took it out of the fridge today, and lo and behold.

IMG_3201

What. Is. This? I tried to save it by reheating but the fat started to separate. Wuah! This is no good.

IMG_3204

I figured it might be salvageable if I could stir heated cream into it, and miracle of miracles, it seemed to recover.

IMG_3206

Alright, we’re cooking with gas now. As to what I made this for, well, just stay right there and find out. Next year.

Born to dye

Experiments with natural dyes have run amok. Using spinach, turmeric, and beets, I was able to produce pots of bright dye, but adding them to the fillings did not accomplish much.

IMG_3143

Have you ever had an idea that seemed really great in your head? When I was little, I decided I would carve a wooden deer for my dad on Father’s Day. I had no source of income, ergo my consumer purchasing power was nil. So I decided to carve! Mind you I had no experience with carving, but I did have a stack of firewood and Dad’s set of carving tools. Several hours later, I had a mangled piece of wood and some splinters for my pain, no deer; that’s what homemade dye brings to mind.

The concept of dying my chocolate fillings seemed solid.  Making a pot of dye is fairly simple, simmer about 4 cups of water with ½ C of puréed vegetable or spice, and voila! But after the dye is made, adding it to the filling did not change the colour. Oh, woe.

Notes from the drawing board:

This base yields enough filling for 30 centres x 4 flavours, 120 pieces total.

Combine: 2 C icing sugar, 1½ TBSP unsalted butter, ¼ tsp vanilla, 2 TBSP evaporated milk.  Divide into 4 bowls.

Add flavouring oils to 3 bowls (none for the butter creams)

Peppermint oil = extremely potent, no more than 3 small drops. Several drops of spinach dye, no discernible difference. Cannot taste spinach.

Raspberry cream oil = very potent, 3 small drops quite strong also.  Adding 8 drops of beat juice sweetened it, yields soft pink colour.

Orange cream oil = weak, lost count after 30 drops, flavour is mild and weak bouquet, wtf. Several drops of turmeric dye, no change. Cannot taste spice.

mario

I like the idea of dying my chocolate fillings for two reasons:

  1. I am a 2-bite chocolate person. I like to look at the centre before it’s gone, so I want to see a pink raspberry cream or an orange filling
  2. It’s difficult to keep 4 bowls of fillings straight, after awhile your sense of smell and taste goes numb and you sit there, “Is this the orange cream or the butter cream??” The different colours would make it easy.

I don’t want to give up and use artificial dye. After all, my chocolate packaging hails them as containing “dairy, nuts, and all-natural vegetable dyes”. It’s either figure it out or give up on dye. It tooks days to get the letter spacing just so, no way in hell am I redrawing the chocolate map.

Boyfriend asked me, “Why do you want to dye peppermint patties green anyway? Aren’t they white??”

I think it was that I wanted 4 distinct colours since we had 4 flavoured cream fillings, and I thought peppermint leaves are green, raspberries are pink, butter is yellow, and orange is orange.

My problem is I don’t experiment before I need the dye, I just assume I will do XZY on Chocolate Shoppe Day and it will work. Clearly I need to try substituting more of the evaporated milk with the dye to balance out the liquid, and add enough to see the colour, yet not taste the base of the dye, perhaps more icing sugar to stiffen it up.

Playlist: Halo 2 – Mjölnir Mix

Milk chocolates – all done


What was it like to use a professional chocolate tempering machine? Fabulous. Amazing. Spectacular. Am running out of adjectives. It works so well and it’s so fast. (Product review will be posted after Christmas.)

IMG_3137

So basically my our tempering machine works even better than I had imagined.  Yesterday Boyfriend and I made 66 solid milk chocolates (above), and 51 toasted almond milk chocolates (below). Look at that beautiful gloss!

IMG_3136

Today we are going to make the Toberlone pieces, and then the milk chocolate is all done, next weekend is for the more labour-intensive filled chocolates. And the peppermint bark. Huzzah!

IMG-20131207-01301

“Why do you have to name it?!?”

“I just do. And its name is Bernard. Deal with it.”

Candy cane crème brûlée

My affection for custard is well-documented. I made this on Sunday, for no particular reason aside from the fact that I just wanted some. It’s still winter (faux-spring if you live in Toronto) which means it is still candy cane season and adding crushed candy canes to my crème brûlée seemed like a good idea.

Good to know before you start:

If this is your first time making crème brûlée, fear not! I have covered this before. Read my earlier posts about my first time making it, and my pumpkin flavoured variety to see the technique in action. You’ll need to make a water bath, and a kitchen torch.

Time required: 2 days

Yields: 6 portions

Cost per serving: $4.59

Total cost if you have none of the ingredients: $27.59

Special kitchen implements I used:

  • mesh strainer
  • 6 ramequins
  • baking pan: 9″ x 13″
  • a dish towel you don’t mind getting wet
  • fire-proof surface (ie: marble slab or glass cutting board)
  • awesome kitchen torch™

Ingredients:

  • 2C heavy cream, room temperature
  • 5 egg yolks, room temperature
  • ⅓ C granulated white sugar
  • half of one vanilla bean, split & scraped
  • ⅛ TSP fine sea salt  (normally I use table salt but I was out)
  • ⅛ TSP ground cinnamon
  • 1-2 TSP demerara sugar per portion (do not add until serving)
  • 1 crushed candy cane

Instructions:

1. Pre-heat oven to 325°F / 162°C, using centre rack.  Fill kettle with water and simmer for later.

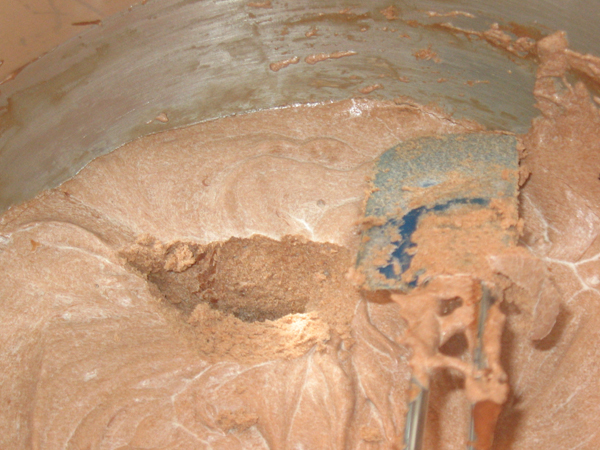
2. In a heavy-bottomed sauce pan, add cream, cinnamon, and vanilla bean (pods and shell). Heat on LOW until scalded then remove from heat.  When scalded, the bubbles have just started to form and break the surface.  (It’s normal for a skim to form.)

splitting like mad!!

Watched pots never boil and all, but the instant you turn your back it’ll burn. Not that I burn anything, by the way. Just observing.

3. In a medium bowl, mix sugar and salt together.

4. Separate the yolks from the egg whites, and gently whisk yolks into sugar mixture until just combined.

5. Pour the hot cream through a strainer as you temper it into the egg mixture; add about a third of the cream, gently stirring between each pour. (Doing this slowly prevents the egg from scrambling.)

6. To prepare for the water bath, fold a dish towel until it sits evenly in the bottom of a 9″x13″ pan, and place your ramequins atop the towel. This will prevent the cups from slipping.

7. Use a spoon to scrape the bottom of bowl, where all the vanilla bean has sunk, and make sure each ramequin has a fair amount of the bean; then pour the liquid into the ramequins.

8. Place pan in oven, and create your water bath by carefully filling the pan with hot water from the kettle, until the water reaches at least halfway up the sides of the ramequins.

9. Bake for 35-40 minutes until the edges of the custard are set. Test for doneness by shaking, the centre should wobble like Jell-o. If the whole surface shakes give it 3-5 more minutes. If nothing shakes it’s overdone.

10. Remove from oven, and carefully remove ramequins from pan. Set them on a rack to cool for at least one hour.

11. Cover each ramequin with plastic wrap, and chill overnight.

12. Remove from fridge 30 minutes before you want to eat them.  After 20 minutes, remove the plastic wrap, and use a folded piece of paper towel to gently blot the surface to remove any condesation.

13. Add the topping, sprinkling the demerara sugar on top, tilting and tapping each ramequin to cover the entire surface, and then repeat with the crushed candy cane.

14. Place the ramequin on a fireproof surface  and torch that sucker, using a low flame held 1-2 inches from the surface. Start in the middle and slowly go in clockwise circle to the edges. Oooh, pretty!

15. Return to fridge for 10 minutes, then eat.

Verdict: Father forgive me. It had been 90 days since my last crème brûlée and I was helpless to resist the siren song of the heavy cream in the fridge. I succumbed.

Christ, I’m glad I did. I love this stuff. It’s delicious.

This was good. Objectively speaking, you couldn’t really taste the candy canes. Boyfriend says he couldn’t taste them at all, but I distinctly remember tasting candy cane in two bites. (The cane I used was from last year, maybe it went stale?)

I had planned to add a drop of peppermint oil but decided against it, not wanting to overwhelm the cinnamon, which had a gentle hint of flavour.

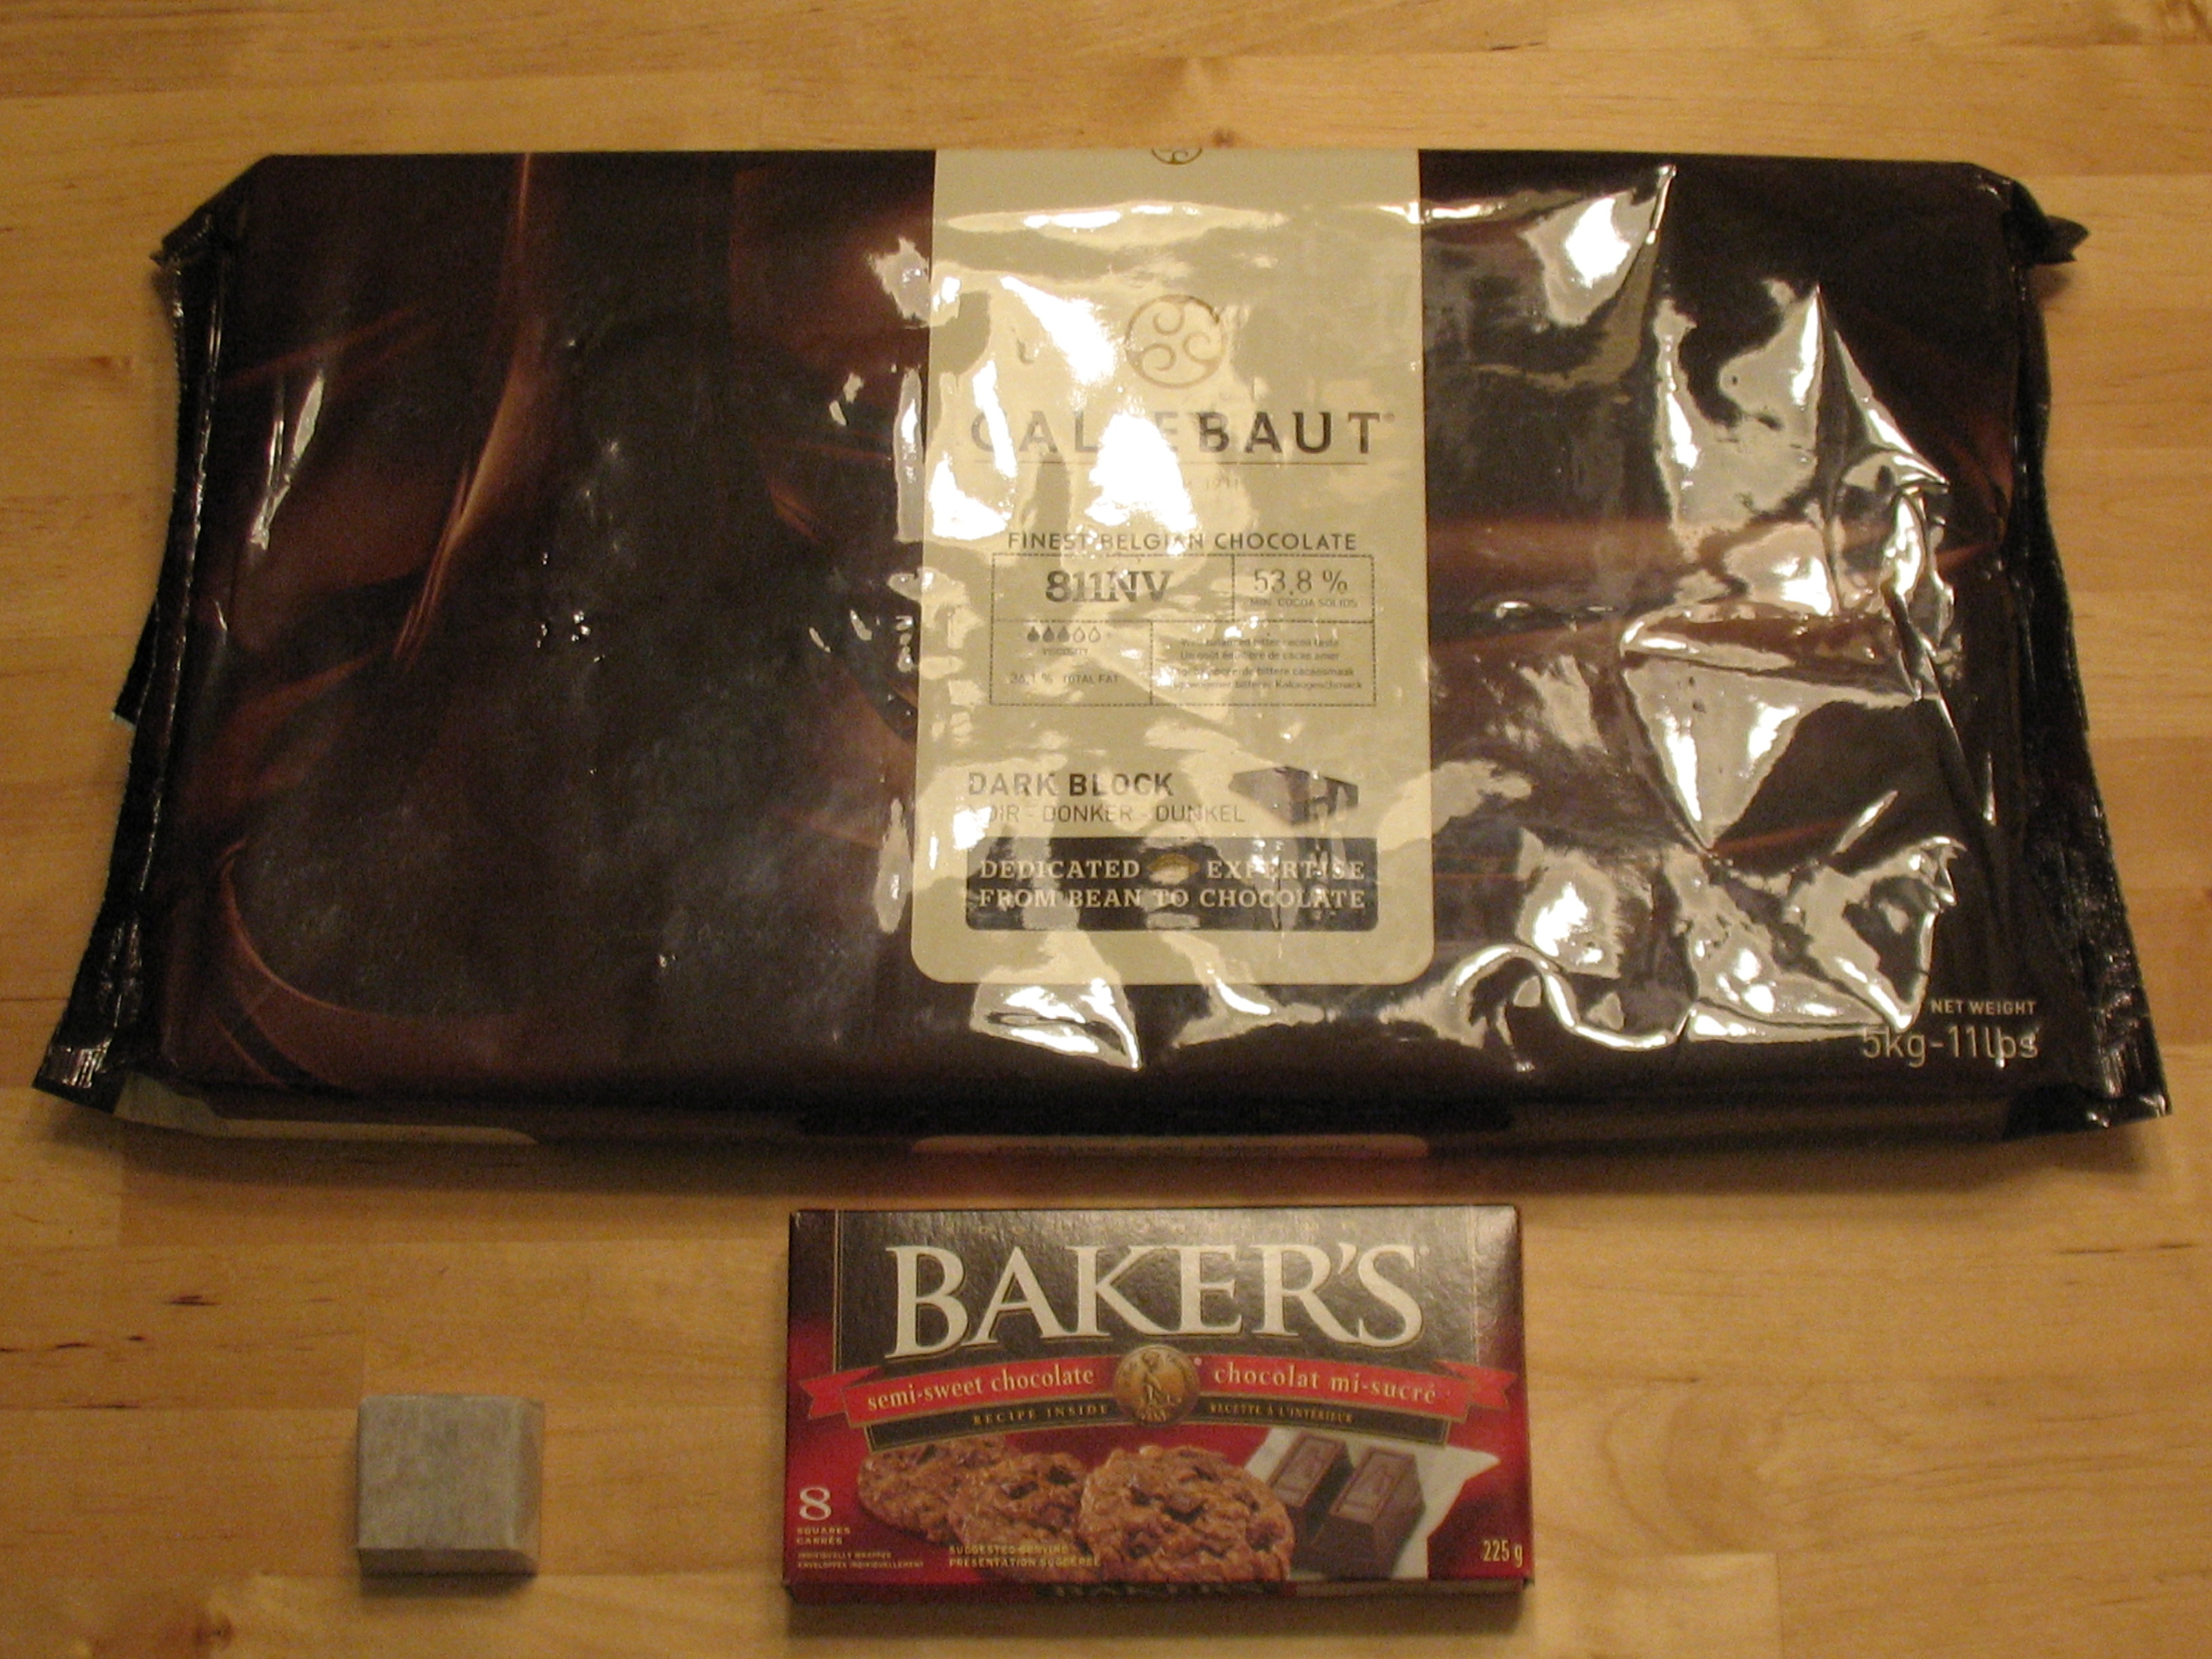
Heavy cream and vanilla beans are expensive, but if you wait until the cream goes on sale and get the beans in bulk, making crème brûlée does not cost you much. Buying it in a restaurant can start at $8.00 for one tiny bowl, so when you think about it, making it at home is the fiscally responsible thing to do. Canadians are in record levels of debt, so… you’re welcome!

Playlist: Barenaked Ladies – Call and Answer

Eggnog

For reasons I cannot fathom, Boyfriend loves eggnog. I do not, and when someone offers me a glass of eggnog, I have terrible flashbacks to a night involving a childhood illness and my father’s questionable decision that eggnog was what the doctor ordered. Ugh. To this day the thought of drinking eggnog makes me queasy.

A few days ago Boyfriend bought some eggnog, but he drank it all and has been moping around.

“Sigh.”

“Why are you sighing?”

“We’re out of eggnog.”

“You mean you’re out of eggnog.”

In a burst of Christmas generosity I was moved to make homemade eggnog for him. I googled around until I found something that looked promising. I made a few changes to the recipe.

Time required: 1 hour

Yields: 3-4 large glasses

Cost per glass: $4.00

Total cost if you have none of the ingredients: $25.00

Special kitchen implements I used:

  • Nemo the KitchenAid

Ingredients:

  • 2 C milk
  • 1 C heavy cream
  • 1 vanilla bean, split and scraped
  • 1 TSP nutmeg
  • 4 egg yolks, 4 egg whites
  • ⅓ C sugar + 1 TBSP

Instructions:

1. Separate yolks and whites. Place yolks in mixing bowl, set whites aside for later.


2. Beat yolks until colour lightens.

3. Gradually add ⅓ C of sugar to the yolks, beat until thoroughly dissolved.

4. In a sauce pan, add milk, cream, nutmeg, and vanilla bean. Scald mixture, then remove from heat.

5. Strain and temper hot cream into yolks, adding about one third at a time.

Once the cream and yolks have been mixed, return to sauce pot and heat to 160°F / 71.1°C. (I switched to a fresh pot for this.)

Don’t forget to stir. I forgot to stir, and I got a scrambled eggs on the bottom. Oops.

6. Remove from heat, transfer to mixing bowl, and chill.

7. Meanwhile, in another mixing bowl, beat the egg whites to soft peaks. (I used the 3rd setting for 2-3 min.)

8. Add 1 TBSP of sugar to whites, beating until stiff peaks form. (Took 2-3 min on 4th setting.)

9. Whisk whites into chilled mixture.

Whisking got boring so I used the wire-whip attachment in the mixer to do this for me.

10. Chill and… drink I guess.

Verdict:

Boyfriend assures me it was delicious. I’ll have to trust his judgement, I have no intentions of drinking that swill. After he drained the glass I confessed that I didn’t stir it enough and found eggy mixture in the bottom.

“Oh. I thought I felt something kinda solid in there.”

“But it was okay, yeah?”

“Yeah. It was really good, despite the eggs. Best homemade nog I’ve ever had!”

“I’ll take your word on that.”

Playlist: The Vision of Escaflowne OST

Patty’s peppermint bark

I’ve been making peppermint bark for a few years. It’s my Christmas specialty. I’ve experimented with different brands of chocolate, candy canes, and peppermint extract vs. peppermint oil, and when I make my annual trip to buy mass quantities of Belgian chocolate, inevitably the shop keeper and other patrons ask me what I’m making. This sparks interesting discussions in the line-up about the best way to achieve a perfect bark, like so:

I send it to my family and Boyfriend’s family. This year, I wanted to make bark, plus a surprise that Boyfriend and I collaborated on. The surprise will not be unveiled for a few days, but I’ll teach you how to make bark today.

One popular bark flavour is using all-white chocolate with red canes, but I prefer a bark that is 2 parts white chocolate to 1 part semi-sweet, using the traditional red, green, and white candy canes per batch.

Good to know before you start:

The chocolate must be tempered, so review my how-to guide before trying this.

Buying candy canes after Christmas is an exercise in futility, lots of places sell out. I buy the canes in Nov, and pick up the Callebaut chocolate in Dec. Whether or not to use peppermint extract or peppermint oil depends on your taste preference, I prefer the oil which I order online from Golda’s Kitchen.

Working with chocolate, you must make sure EVERY dish and implement is completely dry. A drop of water will cause the chocolate to seize.

Wear latex gloves while handling chocolate to prevent the natural oils in your skin from blemishing it. The heat of your hands will also melt it, wearing gloves helps reduce the heat a bit.

this is a lot of chocolate

(By the way, that picture is all the chocolate I purchased this year, not just the portion I used for my bark. I just like looking at all of it together.)

Time required: 5 hours

Yields: enough for 7 households

Total cost: depends on the quality of chocolate, and since it’s a gift I’m not going to say

Special kitchen implements I used:

  • chocolate thermometer
  • 2 cookie trays: 18″ x 12″ and 14″ x 10″
  • wax paper
  • hammer
  • large freezer bag
  • gloves/tongs

Ingredients:

  • 8 oz semi-sweet chocolate
  • 16 oz white chocolate
  • a few drops of peppermint oil (I use LorAnn oils)
  • 6 jumbo Allan peppermint candy canes

Instructions:

1. Line baking trays with wax paper.

2. Use a serrated blade to chop the semi-sweet chocolate. Weigh out 8 oz, and divide it between two bowls: two thirds in one, one third in the other. Temper the chocolate and stir in one drop of peppermint oil.

3. Pour the chocolate into the trays, spreading evenly with a spatula. Chill in fridge for at least 10 minutes.

Take a break to wash and dry your bowls and chocolate thermometer, they must be bone dry.

4. Unwrap the candy canes, place into freezer bag, and HULK SMASH!! Hammer away until you’ve got a bag of itty-bitty pieces, and set them aside.

5. Chop the white chocolate, and temper it too! Stir in 2-3 drops of peppermint oil.

6. Stir crushed canes into white chocolate.

7. Immediately pour onto first layer and spread evenly with spatula.

Let the trays sit on the counter for 15 min, this gives the white chocolate time to bond to the semi-sweet. Once I forgot to do that, and the white never really adhered to the bottom layer. :[

8. Chill in fridge for at least 3 hours.

9. When you are ready to cut it into pieces, remove the wax paper from the bottom and let it sit on the cutting board for 10 minutes. Use a heavy blade to cut into strips.

10.  Place into tins, separate each layer with a piece of waxed paper.

11. Keep in the fridge. Allow the pieces to sit at room temp for 10 minutes before eating.

12. See all that bark dust on the cutting board? Save it as a garnish for hot chocolate with steamed milk, or pancakes!!

Verdict: When I started out making bark, I used to make it with equal parts of each chocolate. My sister Chocoholic suggested decreasing the semi-sweet. I followed her advice and was really pleased with the result. Bark has a strong flavour so a thin piece is fine, using the 2:1 ratio results in perfect, delicious bark. Merry Christmas!

Playlist: Type O Negative – Hey Pete