At one point this was caramel. With a slightly bitter scorched after taste, but caramel nonetheless. Until came time to chill it.

Then the fat separated, likely due to temperature shock. Ugh. Onto round 4. Today is the day. It is going to happen.
At one point this was caramel. With a slightly bitter scorched after taste, but caramel nonetheless. Until came time to chill it.
Then the fat separated, likely due to temperature shock. Ugh. Onto round 4. Today is the day. It is going to happen.
This is a classic case of denial. For two minutes it smelled like caramel. Then it changed. I ignored my olfactory senses and plowed ahead. Put it in a nice mason jar. Put it in the fridge. Ate a spoonful later. Which tasted about as good as what you’d imagine scorched caramel to taste like.

Ugh I am so pissed off. I had it. It was golden and heavenly. And then that happened.
Five minute caramel my ass.

Was going to try making a better filled chocolate tonight after work. My caramel would have time to firm up in the fridge. If I had caramel. What I have is the reeking results of scorched sugar and a smoke detector freaking out and terrified cats. That’s what I have.
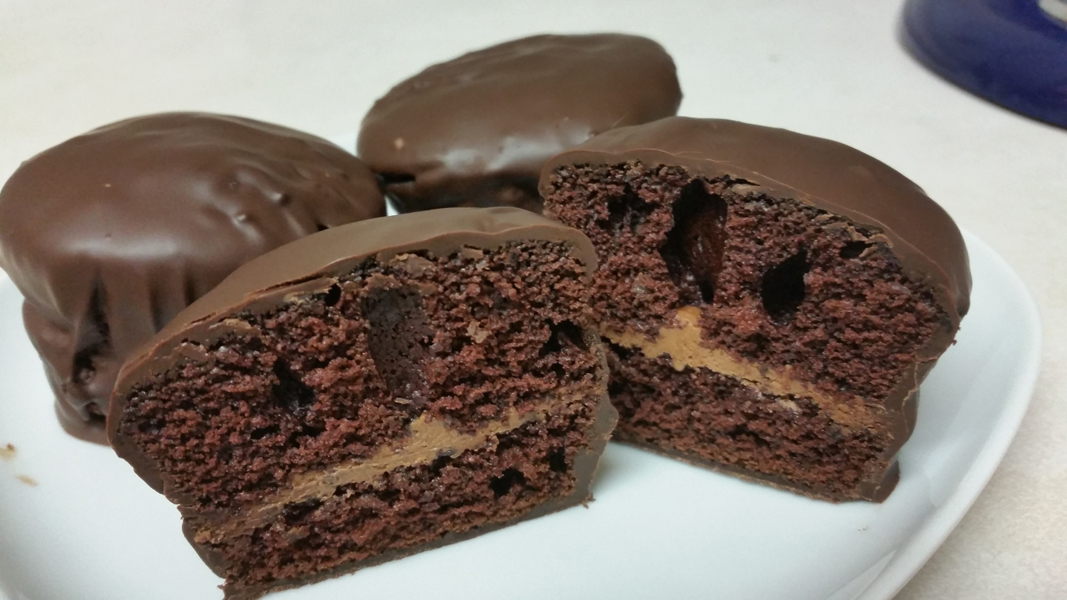
After I wound up with very malleable chocolate buttercream, I wondered if I could make a homemade Jos Louis. For the uninitiated, a Jos Louis is a Canadian pastry sold by Vachon; two layers of red velvet cake, filled with vanilla cream, covered in a milk chocolate coating. I’m not sure why they are so good, but: they are.
(Spoiler alert: yes, I can make them.)
I didn’t realize until I was writing this up that they’re made with red velvet, so I made another batch of devil’s food cupcakes. Oh well.
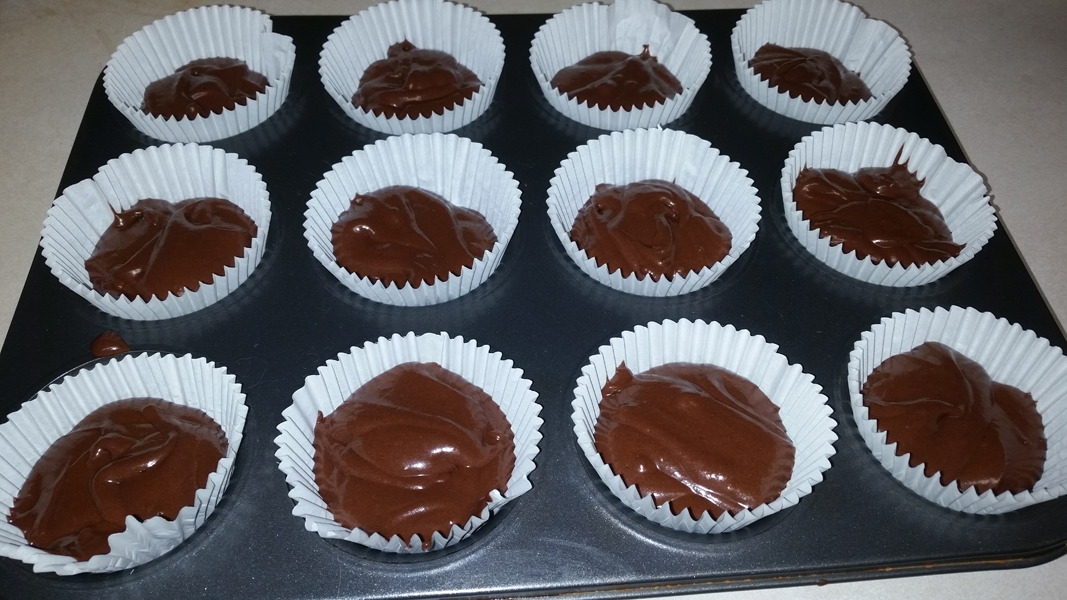
Was careful to avoid overfilling this time. ^^
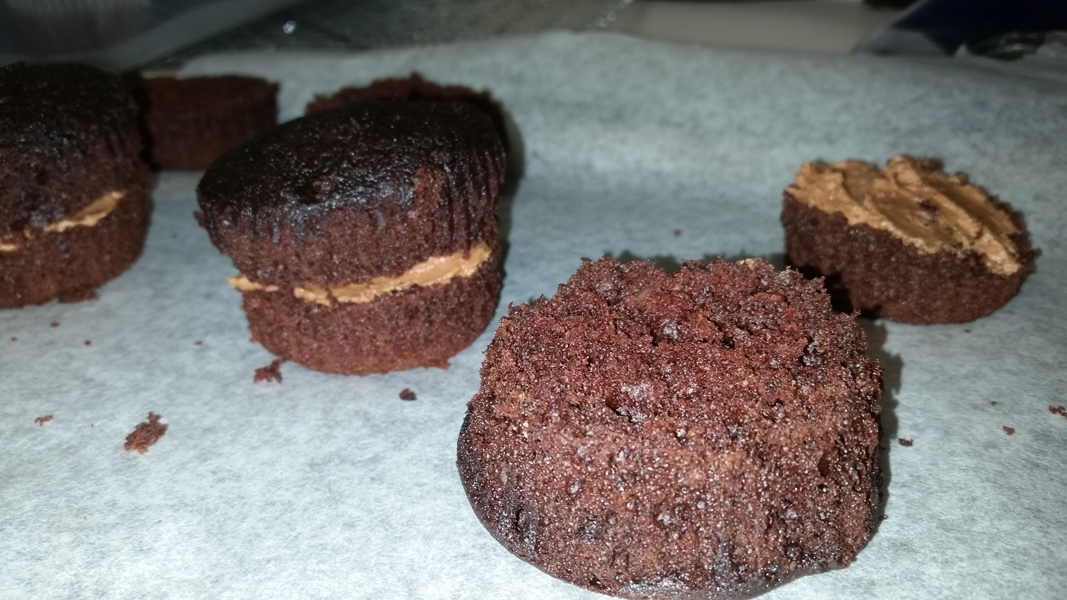
After slicing horizontally, a thin layer of chocolate buttercream was applied. A real Jos Louis uses vanilla creme but I had no plans for this icing and the consistency was right so I went for it.
I melted more Callebaut Belgian chocolate and dropped one in. Whee!

Used dipping prongs to turn it around and set it on parchment paper for an hour.
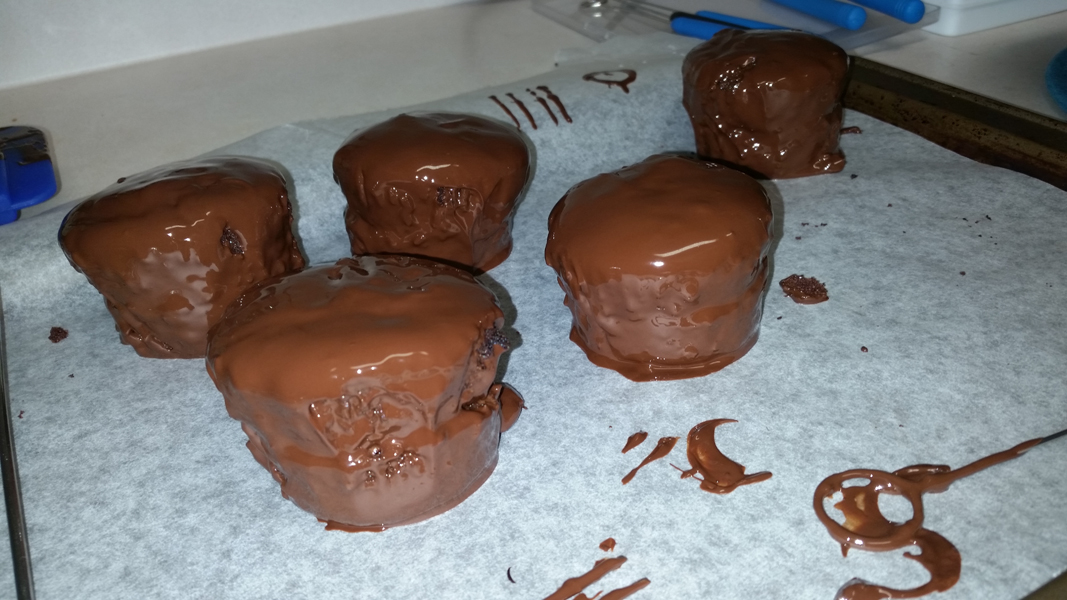
I was lazy and didn’t temper the chocolate, so just stuck them in the fridge. And voila!

Verdict:
Definitely good. Not exactly a Jos Louis but not bad. Until reading up on Vachon’s website, I didn’t actually realize it was red velvet with a milk chocolate coating, I just knew I liked them. Now I’m curious how close I can get to a real Jos Louis.
After I get over this chocolate fatigue I’ll try this again and see what I can do. But not for awhile, I’m so over chocolate for August.
Playlist:
Nelly – Shake Ya Tail Feathers

I made Washington Pie for my mother’s birthday, which is a frosted yellow cake with a jam filling (shares traits with Boston cream pie). My Nanny used to make it and it’s been a long time since we’ve had it. I figured nostalgia would gloss over any technical errors on my part. This was served partially raw and uh, note the ratio of frosting to cake in the centre is not same on the outside edge? More on that later.

This recipe comes the red and white Better Homes & Gardens cookbook, but I’m not sure which edition, ours doesn’t have it but Mom’s did.
Working in a different kitchen is always weird. I got to use the Onyx Black KitchenAid, which is just as reliable as my precious Nemo (if not quite as beautiful). I’m not used to this oven and that may have contributed to one of the problems with this cake.
Time required: 2 hours
Yields: 12 slices
Total cost if you have none of the ingredients: $45
Cost per slice: $3.75
Kitchen implements I used:
Ingredients:
Instructions:
1. Pre-heat oven to 176°C / 350°F. Grease and flour two 9″ rounds.
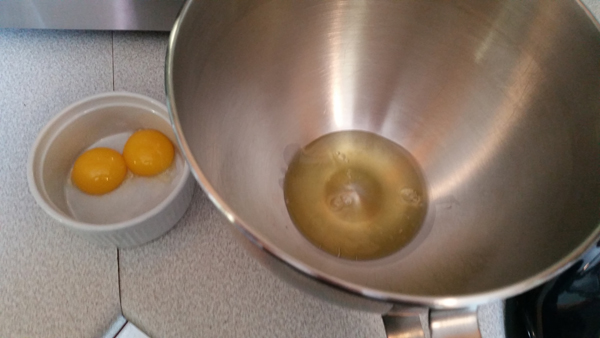
2. Separate the eggs, put the whites into the mixing bowl and put the yolks into a small bowl for later.
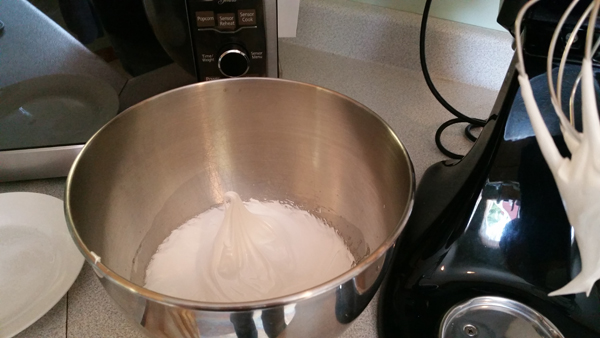
Beat the whites until soft peaks form (when you remove the beater they’ll sink down).

3. Gradually add ½ C sugar, beating until very stiff peaks form (you remove the beater and see little mountains of foam that stay upright).
4. Combine dry ingredients in a separate bowl. Having a second mixing bowl saves you a lot of time.

5. Add: vegetable oil, vanilla, and half the milk to the dry ingredients. Beat 1 min on Medium, scrap sides 3 times. (If I had a DeLorean, I’d have used the bowl with higher sides, since this led to a face full of wet cake and that is as vile as it sounds.)

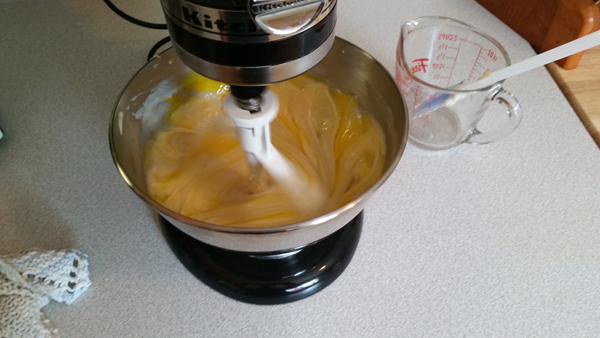
6. Add remaining milk and yolks. Beat 1 min, scrape sides 3 times.

I always enjoy watching one of these in action. I realize they all do exactly the same thing but I will just happily observe for awhile.
7. Unless you made a colossal error you should have two bowls like so:
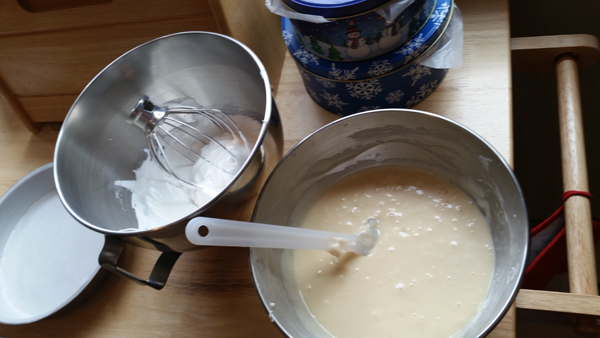
Gently fold the egg white mixture into 2nd bowl, turn the bowl and use a down, up, over motion

You don’t want to stir it like crazy.

You want it to look like this.

8. Divide batter into pans, bake 25 min.

9. Ask Spousal Unit to remove the cake from the oven and test. Believe that toothpick test was successful. Cool in pan 10 min before removing from pan and transferring to wire rack. Well damn. That’s not supposed to happen.
“Did you test the middle?”
“Yup, it came out clean.”
“Why is the middle raw then?”
“I don’t know.”

Throw back in for another 5 min and pray.
10. Cool one hour.
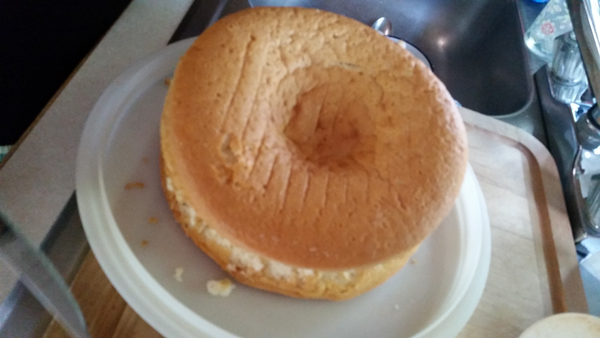
11. Speed to birthday party. Position one cake so that the rounded side is facing down and you have a flat surface. That was the plan anyway. This cake has no true flat surface.
12. Place a few tablespoons of jam in a glass bowl and microwave 40 seconds, spread warm jam over the flat cake surface.
13. Place the second cake on top (again round side down) so you have a flat surface to frost. What the hell went wrong here??
14. Cram frost with vanilla buttercream. I didn’t get a picture of the completed cake but the frosting hid the majority of the gaps. This picture is not the most appetizing but it was good. The centre of the cake was… not ideal, but the outer edge was bang on. See how much frosting is in the centre as opposed to the edge? Oh well. Good thing I love buttercream frosting.
Verdict:
Never trust someone else to take your cake out of the oven. That’s what I learned from this experience. At least Mom was happy and that’s what counts. Next time I’ll try lining the pans with parchment paper.
Playlist:
Buckethead – White Wash
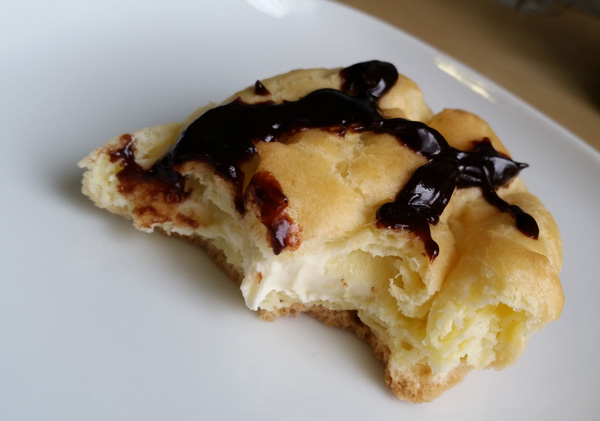
After the disappointing results of Saturday I pondered for awhile and came home from work to try again. Behold! A puff pastry stuffed with fresh mascarpone and drizzled with hot fudge sauce.
Mascarpone. That hideously over-priced Italian dessert cheese used in real tiramisu. Difficult to find in the grocery store. Case in point, I checked 5 stores and when I finally found it:

Shocking!
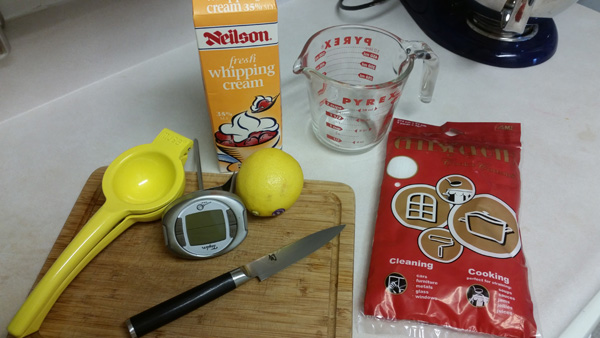
Lately I’ve been uninspired in the kitchen. I was talking dessert ideas with my sister and asked if she had ever eaten something with mascarpone? Her response was to lapse into silence for a moment, before rapturously describing the best dessert she had ever eaten. I figure that anything which evokes that response is something I must learn how to cook with. I wasn’t sure what I even wanted to make with it, just the possibility of working with it got me thinking. Lo and behold, making it only takes 2 ingredients; heavy cream 36% and a lemon. Ah hah!
Recipe source: I’m not sure where this idea originated, I found it on Pastry Affair, and searched around, everybody seems to use the same method; heat the cream and lemon juice, strain and chill and voila (hopefully). It looks the same on Mother Would Know. I found some very good pictures of the process on Savory Bites.
Time required: 1 hour of work + 8 hours to set
Yields: uh, maybe about 2 cups?
Total cost if you have none of the ingredients: under $5 if cream is on sale
Kitchen implements I used:
Ingredients:
Instructions:
1. Heat the cream to 88°C / 190°F. Stir often. Note for next time, skip the heat diffuser.

2. Stir in the lemon juice, and heat mixture for 5 min, trying to keep temperature constant.
UPDATED JULY 26: after 3rd try at this, have determined 5 minutes it just not enough, I think other people might have a gas stove with consistent heat? It took about 25 min on a coil-top stove for rounds 2 and 3
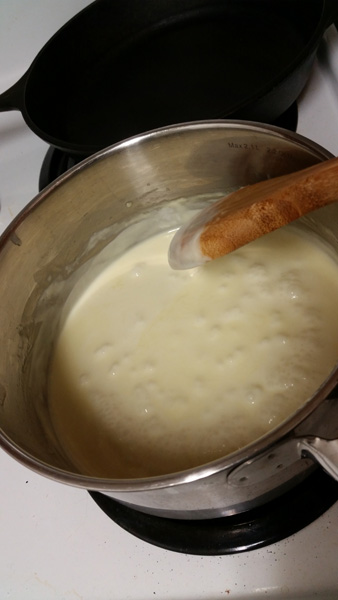
Disclosure: it’s supposed to take 5 minutes. It took me 20. The temperature kept dropping. I was using a heat diffuser which I discarded. The cream should curdle and thicken a bit. I found this part strangely difficult.
3. Cool to room temperature, either 20 min in a cold water bath or 45 min on the counter should do it.

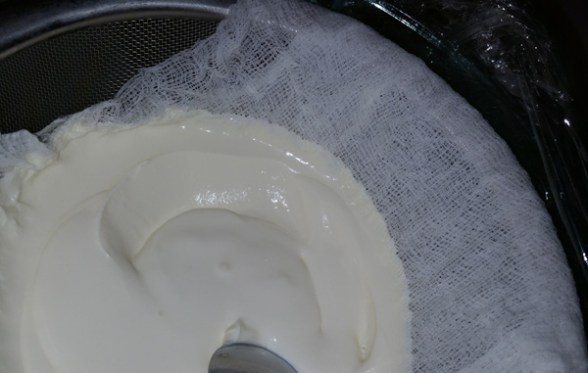
4. Dampen cheese cloth lightly with water and line strainer, 4 layers of cloth. Put bowl under strainer.
5. Plop the mixture into the centre of the cloth. Don’t push it down. Cover with plastic wrap and chill at least 8 hours.

This looks much different from the first attempt where nearly half the “cheese” ran through the cloth within one second. You don’t believe that, do you? Here, preserved for posterity.

If yours looks like that ^, go back to the drawing board.
Meanwhile, go make some pastry or something.

6. In the morning, cross your fingers and invert mass into container.

Peel off cloth. Ah hah!

Look at it, holding it’s shape and everything!
7. Stir well.

8. Spread into pastry and garnish. I made some hot fudge sauce the other night and figured why not.

Enjoy what you have wrought!

Verdict: Definitely good. Making it at home is much more sensible than buying a wee-sized container. If I had some fresh fruit I’d put that in a pastry but I’m out of fruit at the moment. You really need to make sure the cream thickens, something so simple was surprisingly easy to ruin. I declare making this yourself to be worth the effort.
Playlist: Halo – Mjolnir mix
Apparently making mascarpone is really easy. I was all excited to do it. You may have clinked on this link hoping to see how to make mascarpone. You would be mistaken.

“Some magician. You couldn’t turn cream into cheese!”
I let it sit overnight in the fridge but the centre is still liquid, I cooked it for the right time but lowered the temperature to avoid burning it and I think that was the problem, it’s supposed to cook at 190°F for the entire time. It wasn’t a total failure, you can see where part of it held it’s shape, will try again after work tonight.
Sing along in your best GLaDOS voice.
This was no triumph.
I’m making a note here;
HUGE SCREW-UP
It’s hard to understate my aggravation
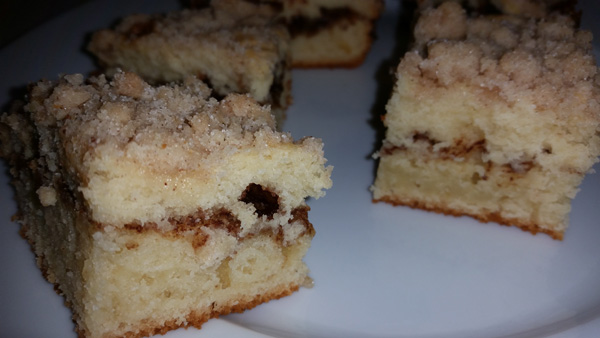
I love coffee cake. Especially Starbucks’ coffee cake. I found this recipe and tried it out, and it’s delicious. I screwed it up and did it backwards but it still turned out marvelous!
Time required: 1 hour
Yields: uh, it’s hard to tell cause it’s round, a fair amount?
Total cost if you have none of the ingredients: $62

Kitchen implements I used:
INGREDIENTS:
Streusel topping:
Filling:
Cake:
Instructions:
1. Preheat oven to 176°C or 350°F. Line pan with foil and grease it.
2. Make topping; in a bowl combine sugar, salt, flour, and cinnamon. Add melted butter, stir and set aside.

3. Make filling; in a bowl combine brown sugar, cinnamon, and cocoa powder, and set aside.

WTF. Okay, next time check if your brown sugar has solidified. Toss a piece of bread in and hope for the best. We’ll come back to this later.
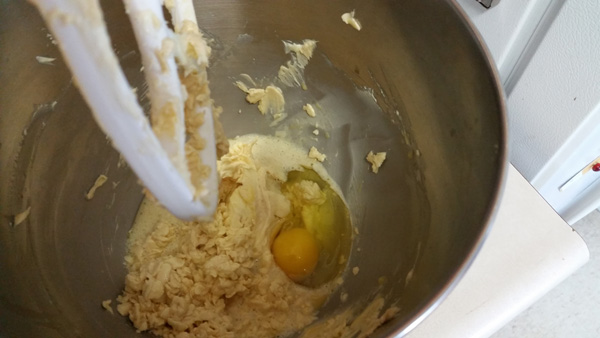
4. Make the cake; this is where I screwed up. You’re suppose to cream everything except the flour and eggs together. I put all the dry ingredients plus flour together first. Ooops. Then add the eggs one at a time.

5. In a separate bowl, whisk together the yogurt and milk till well combined, don’t worry if it’s lumpy.
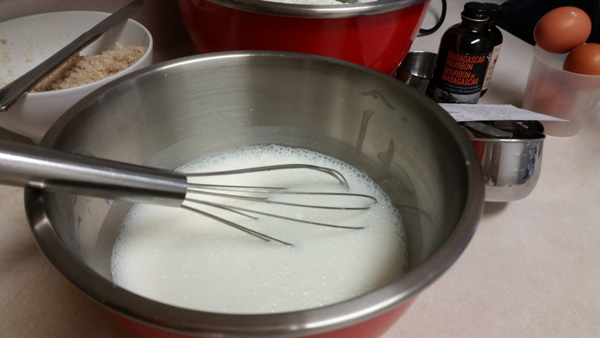
6. Add half the flour (hah) to butter mixture, half the milk, repeat. Beat til just combined. Get a face shot of milk when the mixer goes crazy.

7. Spread half the batter into the pans. Shake it to even it out.
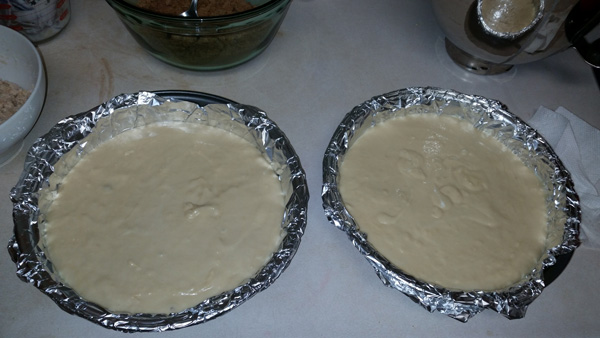
8. Sprinkle the filling on top.

9. Add the rest of the batter.
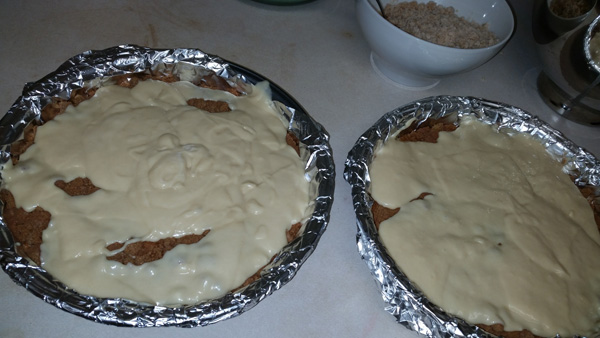
10. Sprinkle on the streusel topping.

11. Use a butter knife and swirl it through, don’t worry about being even.
12. Bake 55 min if using 2 rounds (or 55-60 if a 9 x 13).
When it’s done, if you lightly press on the top it will spring back up.

13. Leave in pan, place on wire rack for 20 min to cool before slicing.

Verdict: This was great. I didn’t realize how much sugar was in coffee cake. Also surprised by the high cost of ingredients. You could omit the coffee extract but I wanted to try it. I’d use more of that next time, and I’d check the brown sugar first and soften it ahead of time. Chipping out brown sugar like you’ve got a pickaxe is lame.
Playlist:
Corey Hart – Sunglasses at Night
“Boyfriend Unit? We’re invited to D’s birthday party. What does he like?”
“Meat.”
“Surely he likes other things than meat. What is he interested in?”
“Meat.”
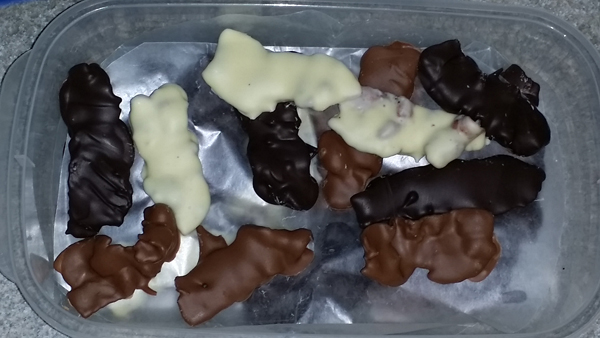
“You’re a lot of help in gift planning. OK; wanna make him chocolate bacon, a big box of it?”
“If we make that I want to EAT IT.”
“Well you can’t. It’s a gift. You’re cooking the bacon.”

(Because dear reader, I don’t cook bacon. I don’t clean ovens either.)
“Wuah you didn’t clean the stove, I will have to photoshop it!!”

“Look. perfectly tempered chocolate!”
“What time is his party starting?”
“Uh, 7pm? 7:30pm? Lemme check… SHIT.”
“What??”
“It started at 5.”
“We don’t have enough time to temper the white chocolate.”

“Or the milk chocolate.”

“That’s ok, I can totally temper chocolate on the fly, watch this.”
(later)
“Happy birthday D! Here!”
“EVERYBODY BACK UP, IT’S MINE.”
(later)
“I’d say that was a success, wouldn’t you?”
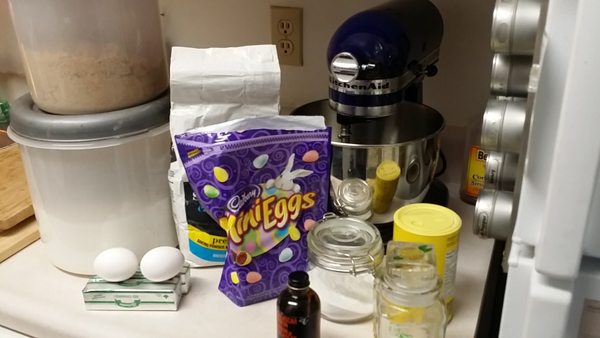
These didn’t come out quite as intended but they were delicious any way. I wanted to make Mini Egg cookies for Easter, and a test run was needed. (I was surprised how easily Boyfriend Unit accepted this flimsy excuse as justification to add a jumbo bag of Mini Eggs to the grocery list, but there you have it.) On a whim I dyed them green because I thought they would look cuter, like dino eggs in grass.

Except now that I’m more awake, I remember that dinosaurs roamed before grass covered the ground, which I learned from the making-of features in Walking with Dinosaurs. Whatever. The grass effect is artistic. Moving right along.
Time required: 1 hour
Yields: 24?
Total cost if you have none of the ingredients: $40
Cost per cookie: $1.70
Ingredients:
Instructions:
1. Pre-heat to 176° C / 350°F.
2. Beat the butter until it’s fluffy. When Boyfriend Unit comes to photograph for me I will always give a thumbs up. Cause I am a very cheesy person.

3. Before you add the eggs, beat them (one at a time) in a small cup, then pour in, and blend. Hmm. Something’s not right here. Attempt to cream the sugar now and fail miserable.

Cheer on glorious mixer, spin like a hurricane! (Yes, I really talk to my appliance, in exactly that tone.)

4. Hmmm, actually it seems salvageable now. Meanwhile…

… combine the dry ingredients (both flours, baking soda, baking power, salt), give it a stir, and then add it to the wet in thirds.

Struggle to mix it. Nemo started to make a chugging sound, this dough was very thick.

5. Almost add the eggs. Change your mind.

Add fondant colouring instead.

6. Introduce your dragons! Giggle like a fool.

7. Bake 12-15 min, checked at 10 but too jiggly, gave them another 2-3 min. Cool on rack a few min and consume hot.

Verdict:
Hmm. These are pretty good! And fun to make. I wasn’t sure how a Mini Egg would hold up to being baked in the oven, they still had the snap when you bit into them although the shells cracked in the oven.
“He was no dragon. Fire cannot kill a dragon.”
I intended to cream the sugar into the butter before adding the eggs but I forgot. I’m not sure yet how these feel or taste after cooling, I only made 4 to test them.
I added cake flour to regular flour because I’ve had cake flour sitting around forever not doing anything with it and was curious how it would affect texture. It gave the cookies a nice consistency. I think I will tinker a bit and add some more flavouring, maybe cardamom. Something spicy for dragon eggs. A cookie fit for a khaleesi.
Playlist: Lit – My Own Worst Enemy
