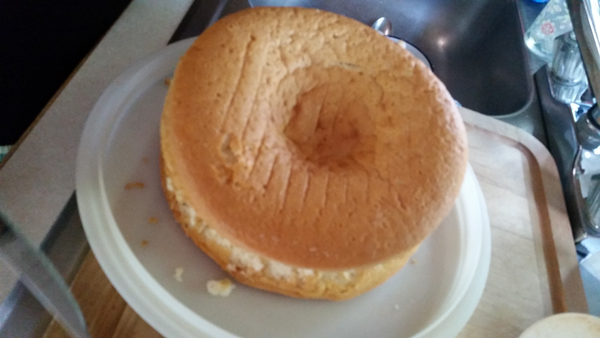
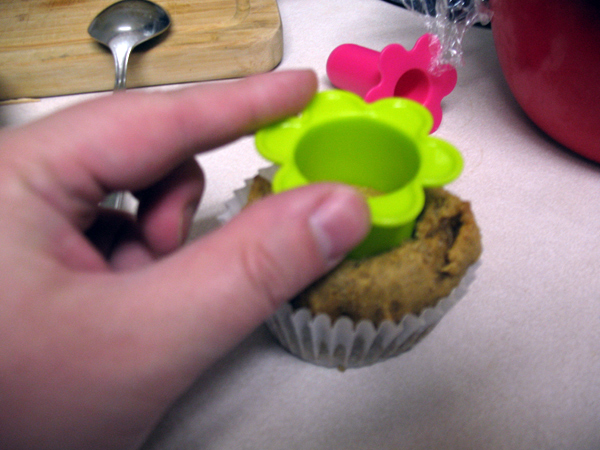
I made Washington Pie for my mother’s birthday, which is a frosted yellow cake with a jam filling (shares traits with Boston cream pie). My Nanny used to make it and it’s been a long time since we’ve had it. I figured nostalgia would gloss over any technical errors on my part. This was served partially raw and uh, note the ratio of frosting to cake in the centre is not same on the outside edge? More on that later.

This recipe comes the red and white Better Homes & Gardens cookbook, but I’m not sure which edition, ours doesn’t have it but Mom’s did.
Working in a different kitchen is always weird. I got to use the Onyx Black KitchenAid, which is just as reliable as my precious Nemo (if not quite as beautiful). I’m not used to this oven and that may have contributed to one of the problems with this cake.
Time required: 2 hours
Yields: 12 slices
Total cost if you have none of the ingredients: $45
Cost per slice: $3.75
Kitchen implements I used:
- KitchenAid mixer
- two 9″ round pans
Ingredients:
- 2 egg whites
- ½ C white sugar
- 2¼ C cake flour
- 1 C white sugar
- 3 tsp baking powder
- 1 tsp salt
- ⅓ C vegetable oil
- 1 C milk
- 1½ tsp vanilla
- 2 egg yolks
- 5 TBSP pure strawberry or raspberry jam
Instructions:
1. Pre-heat oven to 176°C / 350°F. Grease and flour two 9″ rounds.
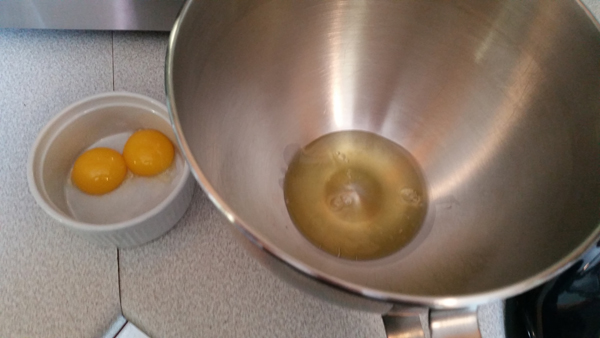
2. Separate the eggs, put the whites into the mixing bowl and put the yolks into a small bowl for later.

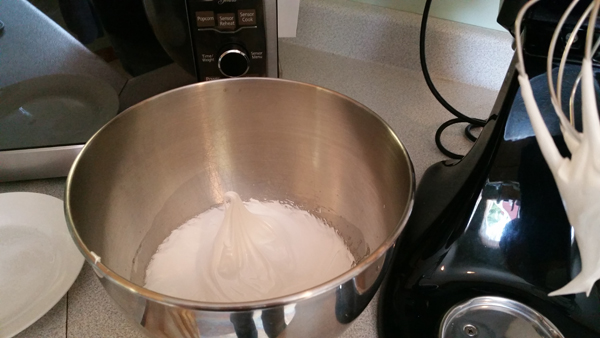
Beat the whites until soft peaks form (when you remove the beater they’ll sink down).

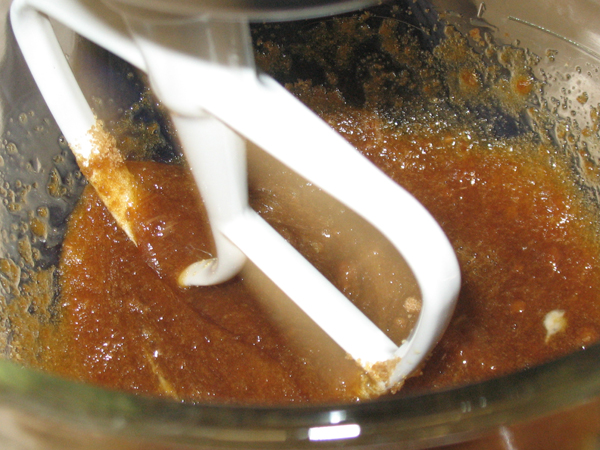
3. Gradually add ½ C sugar, beating until very stiff peaks form (you remove the beater and see little mountains of foam that stay upright).

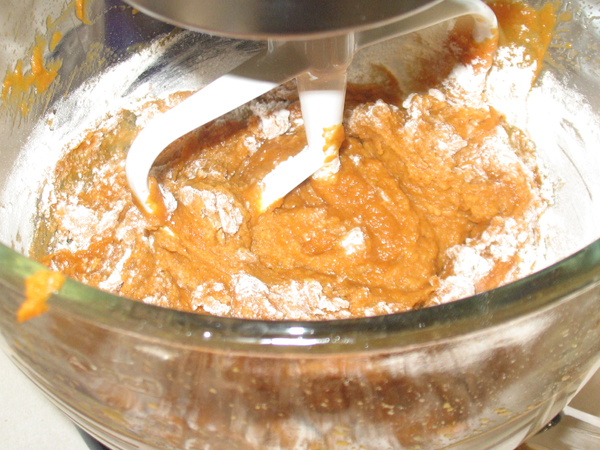
4. Combine dry ingredients in a separate bowl. Having a second mixing bowl saves you a lot of time.

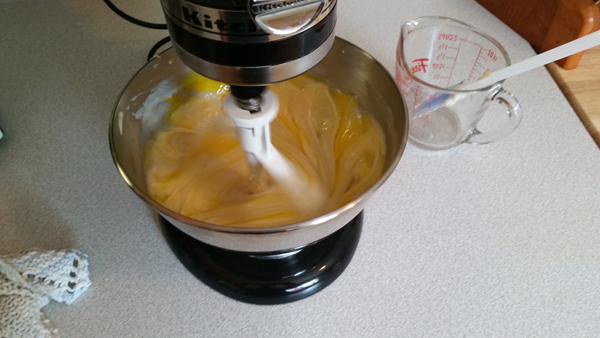
5. Add: vegetable oil, vanilla, and half the milk to the dry ingredients. Beat 1 min on Medium, scrap sides 3 times. (If I had a DeLorean, I’d have used the bowl with higher sides, since this led to a face full of wet cake and that is as vile as it sounds.)

6. Add remaining milk and yolks. Beat 1 min, scrape sides 3 times.

I always enjoy watching one of these in action. I realize they all do exactly the same thing but I will just happily observe for awhile.

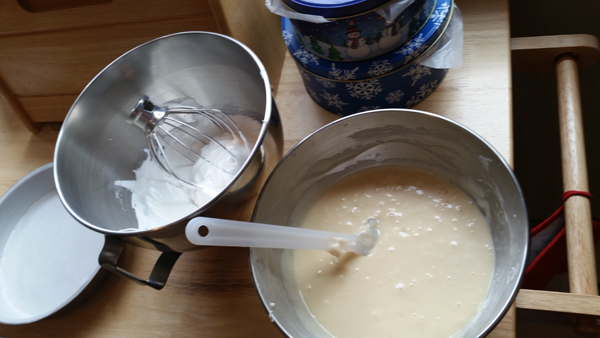
7. Unless you made a colossal error you should have two bowls like so:

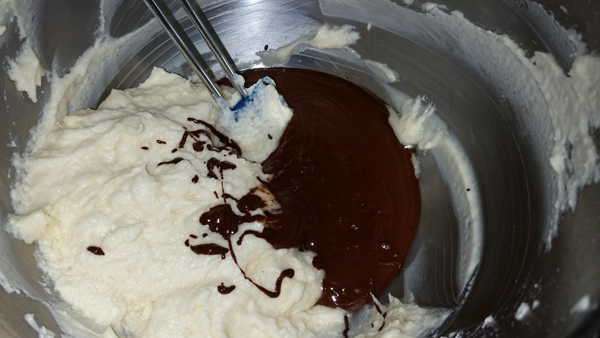
Gently fold the egg white mixture into 2nd bowl, turn the bowl and use a down, up, over motion

You don’t want to stir it like crazy.

You want it to look like this.

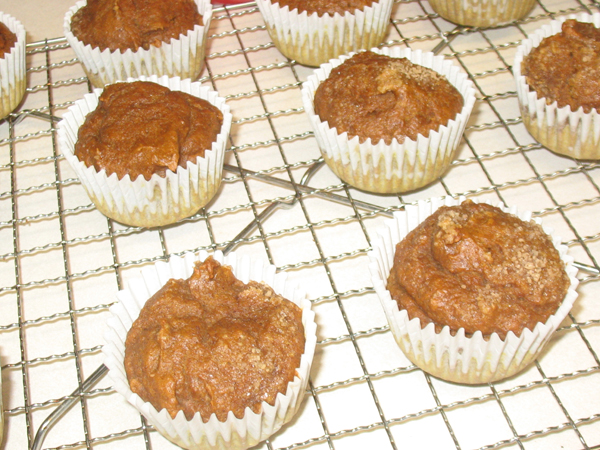
8. Divide batter into pans, bake 25 min.

9. Ask Spousal Unit to remove the cake from the oven and test. Believe that toothpick test was successful. Cool in pan 10 min before removing from pan and transferring to wire rack. Well damn. That’s not supposed to happen.
“Did you test the middle?”
“Yup, it came out clean.”
“Why is the middle raw then?”
“I don’t know.”

Throw back in for another 5 min and pray.
10. Cool one hour.
11. Speed to birthday party. Position one cake so that the rounded side is facing down and you have a flat surface. That was the plan anyway. This cake has no true flat surface.

12. Place a few tablespoons of jam in a glass bowl and microwave 40 seconds, spread warm jam over the flat cake surface.
13. Place the second cake on top (again round side down) so you have a flat surface to frost. What the hell went wrong here??
14. Cram frost with vanilla buttercream. I didn’t get a picture of the completed cake but the frosting hid the majority of the gaps. This picture is not the most appetizing but it was good. The centre of the cake was… not ideal, but the outer edge was bang on. See how much frosting is in the centre as opposed to the edge? Oh well. Good thing I love buttercream frosting.

Verdict:
Never trust someone else to take your cake out of the oven. That’s what I learned from this experience. At least Mom was happy and that’s what counts. Next time I’ll try lining the pans with parchment paper.
Playlist:
Buckethead – White Wash