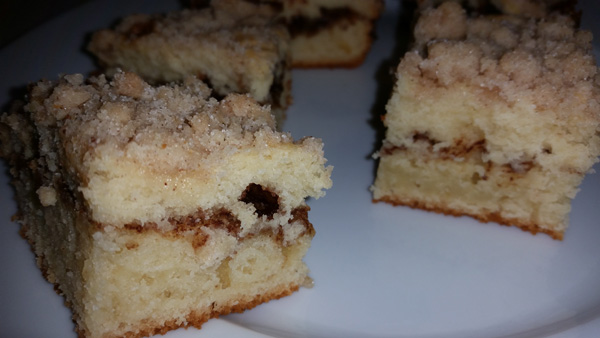
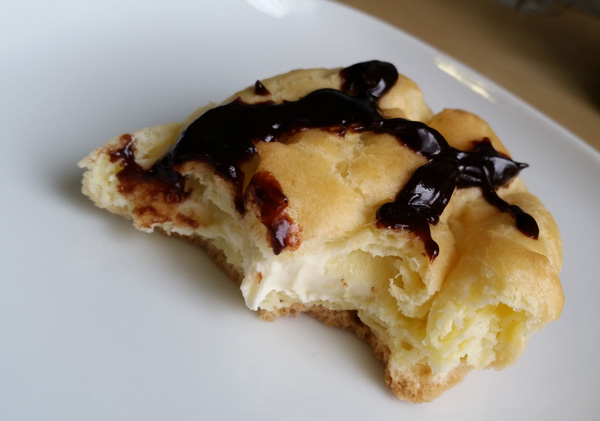
After the disappointing results of Saturday I pondered for awhile and came home from work to try again. Behold! A puff pastry stuffed with fresh mascarpone and drizzled with hot fudge sauce.
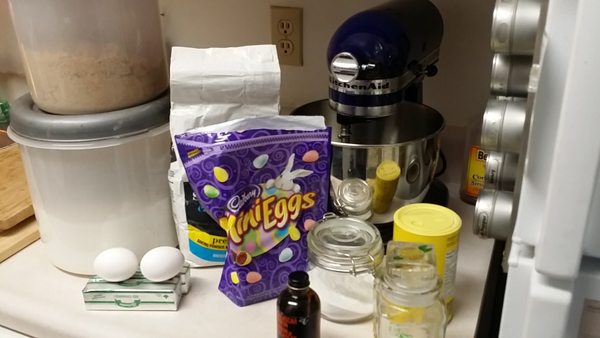
Mascarpone. That hideously over-priced Italian dessert cheese used in real tiramisu. Difficult to find in the grocery store. Case in point, I checked 5 stores and when I finally found it:

Shocking!
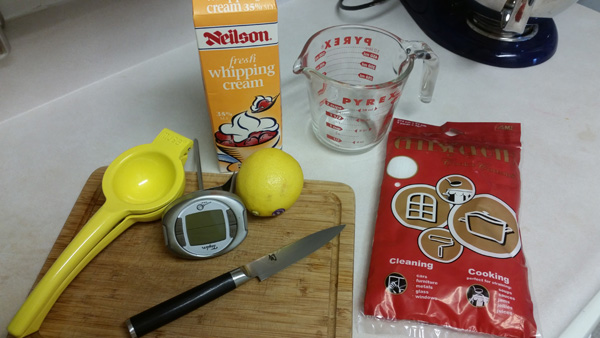
Lately I’ve been uninspired in the kitchen. I was talking dessert ideas with my sister and asked if she had ever eaten something with mascarpone? Her response was to lapse into silence for a moment, before rapturously describing the best dessert she had ever eaten. I figure that anything which evokes that response is something I must learn how to cook with. I wasn’t sure what I even wanted to make with it, just the possibility of working with it got me thinking. Lo and behold, making it only takes 2 ingredients; heavy cream 36% and a lemon. Ah hah!
Recipe source: I’m not sure where this idea originated, I found it on Pastry Affair, and searched around, everybody seems to use the same method; heat the cream and lemon juice, strain and chill and voila (hopefully). It looks the same on Mother Would Know. I found some very good pictures of the process on Savory Bites.
Time required: 1 hour of work + 8 hours to set
Yields: uh, maybe about 2 cups?
Total cost if you have none of the ingredients: under $5 if cream is on sale
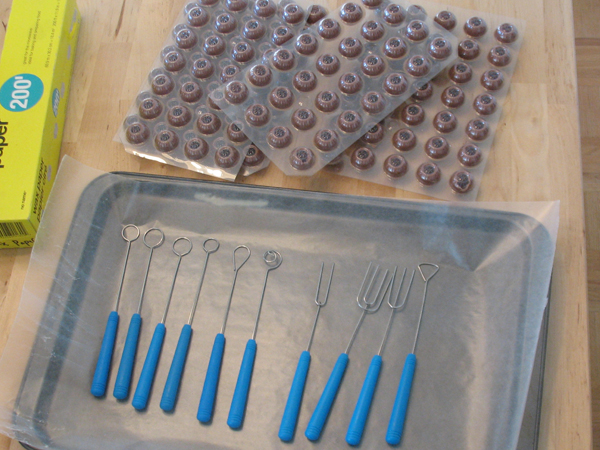
Kitchen implements I used:
- heavy-bottom sauce pot
- candy thermometer
- strainer
- cheese cloth
- plastic wrap
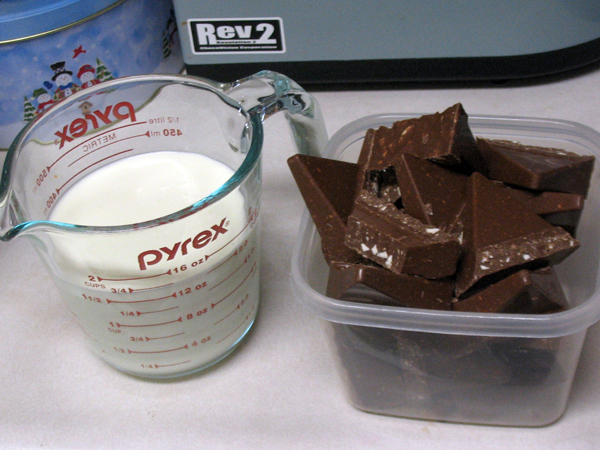
Ingredients:
- 2 C heavy cream, aim for 36% milk fat, avoid ultra pasteurized
- 1 TBSP freshly squeezed lemon juice
Instructions:
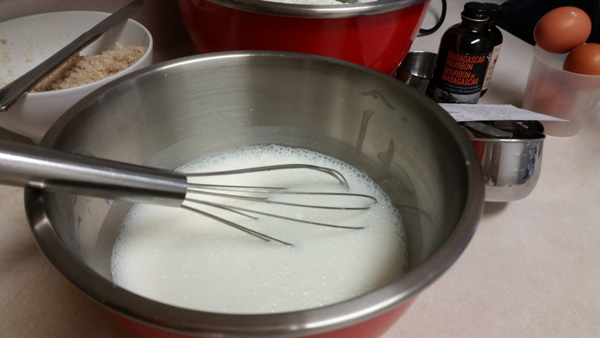
1. Heat the cream to 88°C / 190°F. Stir often. Note for next time, skip the heat diffuser.

2. Stir in the lemon juice, and heat mixture for 5 min, trying to keep temperature constant.
UPDATED JULY 26: after 3rd try at this, have determined 5 minutes it just not enough, I think other people might have a gas stove with consistent heat? It took about 25 min on a coil-top stove for rounds 2 and 3
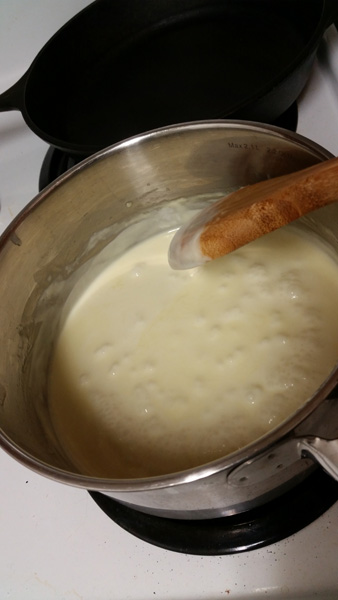
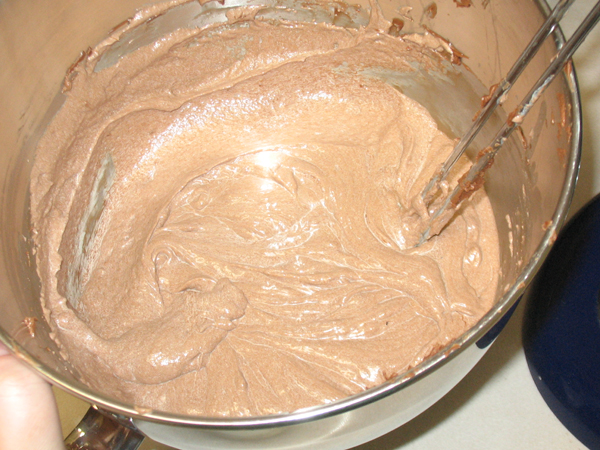
Disclosure: it’s supposed to take 5 minutes. It took me 20. The temperature kept dropping. I was using a heat diffuser which I discarded. The cream should curdle and thicken a bit. I found this part strangely difficult.
3. Cool to room temperature, either 20 min in a cold water bath or 45 min on the counter should do it.

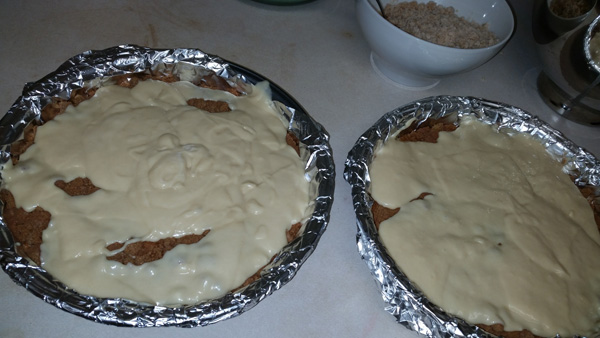
4. Dampen cheese cloth lightly with water and line strainer, 4 layers of cloth. Put bowl under strainer.
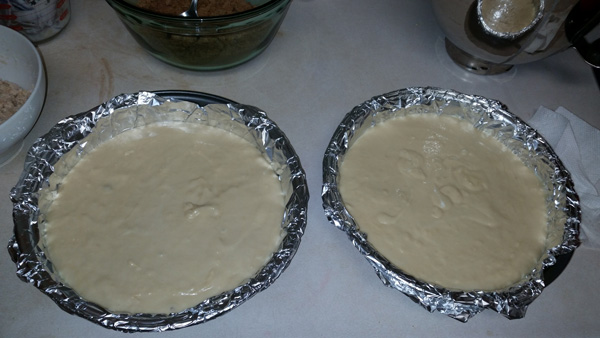
5. Plop the mixture into the centre of the cloth. Don’t push it down. Cover with plastic wrap and chill at least 8 hours.

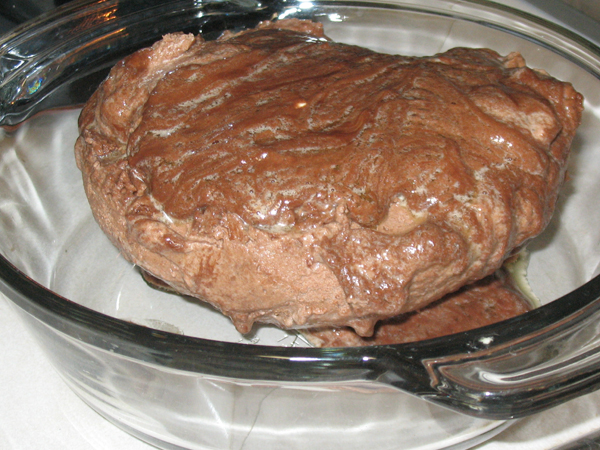
This looks much different from the first attempt where nearly half the “cheese” ran through the cloth within one second. You don’t believe that, do you? Here, preserved for posterity.

If yours looks like that ^, go back to the drawing board.
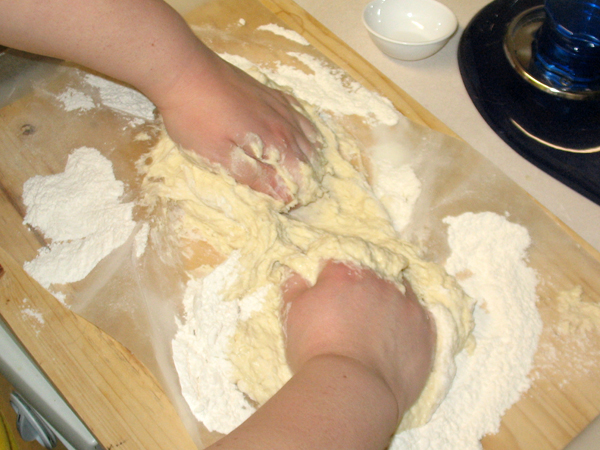
Meanwhile, go make some pastry or something.

6. In the morning, cross your fingers and invert mass into container.

Peel off cloth. Ah hah!

Look at it, holding it’s shape and everything!
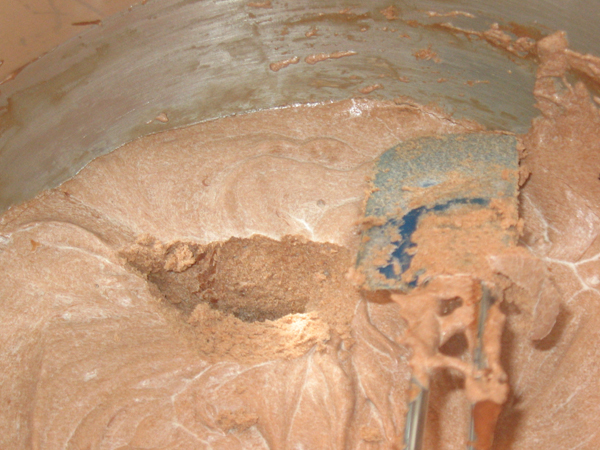
7. Stir well.

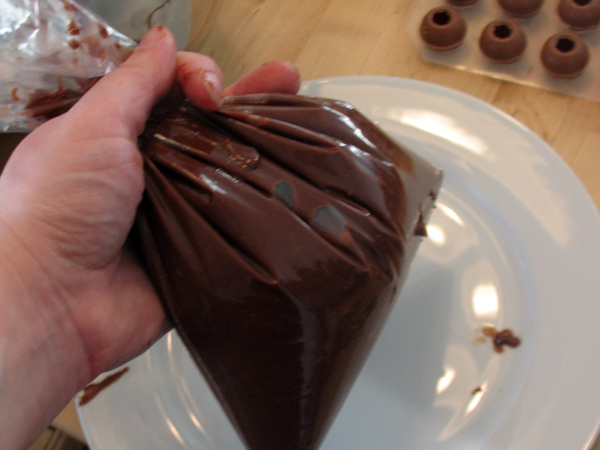
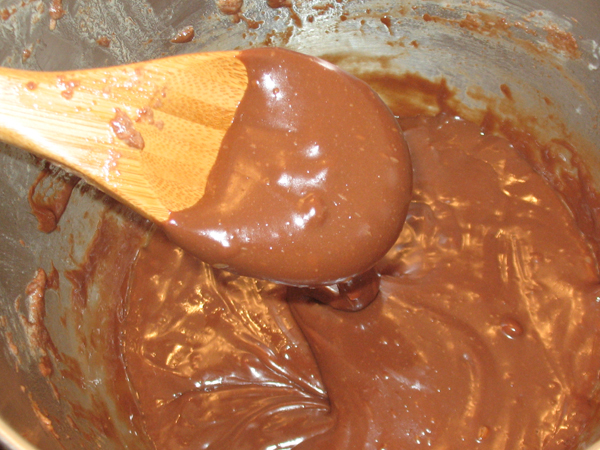
8. Spread into pastry and garnish. I made some hot fudge sauce the other night and figured why not.

Enjoy what you have wrought!

Verdict: Definitely good. Making it at home is much more sensible than buying a wee-sized container. If I had some fresh fruit I’d put that in a pastry but I’m out of fruit at the moment. You really need to make sure the cream thickens, something so simple was surprisingly easy to ruin. I declare making this yourself to be worth the effort.
Playlist: Halo – Mjolnir mix