Miracles really do happen. I made penuche fudge. And it set! Pardon me while I sob with joy.

I guess the sixth time is the charm? It’s been over a year and a half since I first dabbled in making fudge, and it was such a discouraging endeavor I promised myself I’d wait a good long while before subjecting myself to such misery again.
I found this recipe on Old Tyme Fudge, and I followed it exactly (aside from one minor adjustment since I ran out of something.) I really like this site because the author writes very clear recipes, and has good tips for fudge newbs.
Before you get started:
Underbeaten fudge will never set, and overbeaten fudge will turn into a brick. The time window between those stages is razor-thin. Beating fudge to the proper consistency is probably the most difficult thing I’ve ever done in the kitchen, and I’m still learning.
If your fudge doesn’t set, or gets bricked, don’t get discouraged! You can freeze underbeaten fudge to be used as a topping for ice cream, and bricked fudge can be re-melted.
Don’t go trying to double recipes or substitute ingredients until you know what you’re doing.
Fudge must be stirred, and then not stirred, at specific times. If you stir at the wrong stage you will get grainy lumpy fudge which is worse than having no fudge at all.
Hot sugar is napalm. Once it’s getting close to the right temperature you have to watch it like a hawk and get ready to pounce. Turn off the tv, turn off the phone, shun the world when you are making fudge.
Humidity will ruin your fudge, unless you compensate for that by increasing the cooking time and temperature, but that’s more at the expert-level. If it’s wet outside don’t even bother.

Time required: 8.5 hours (about 1 hour of actual doing stuff)
Yields: about 30 pieces
Total cost if you have none of the ingredients: $25
Cost per piece: $0.83 (can you price perfection?)
Kitchen implements I used:
- KitchenAid mixer
- 8″ square pan
- tin foil
- heavy-bottomed sauce pan
- silicon spatula or sturdy wooden spoon
- lots of extra spoons
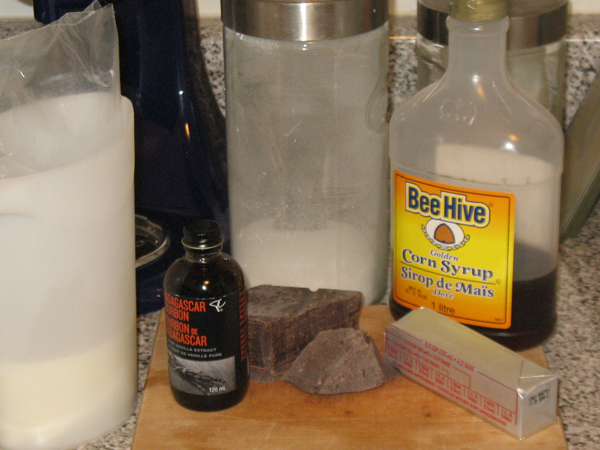
Ingredients:
- 4 C brown sugar (I used 3 C golden brown and 1 C dark brown)
- 1½ C of 2% milk
- pinch of salt
- ¼ C golden corn syrup
- 3 TBSP butter, unsalted
- 1 TSP vanilla extract
Instructions:
1. Line the square pan with foil and grease it. Also grease the entire inside of the sauce pan, all the way up the sides. Grease the flat beater of the mixer too.
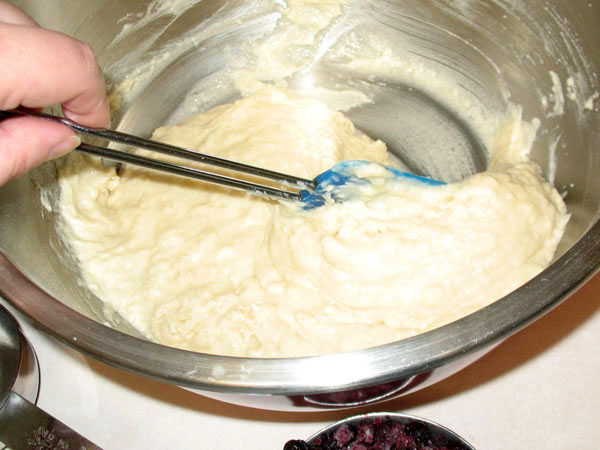
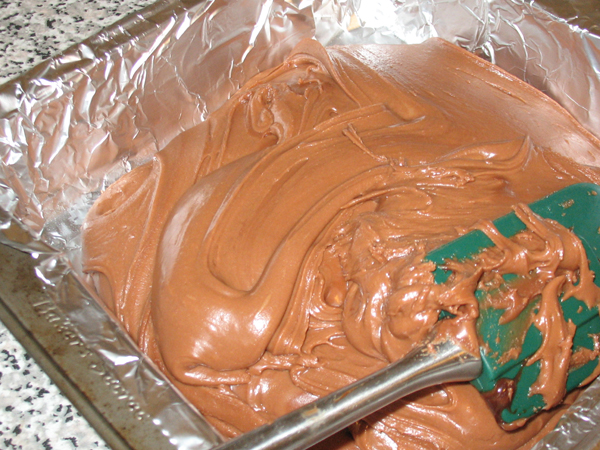
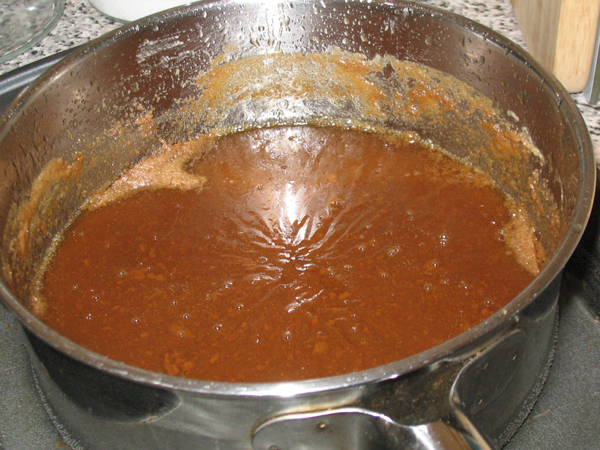
2. Combine everything in the sauce pan except the vanilla. Heat on Medium, stirring constantly.

Ugh, yummy!

3. Once mixture boils, reduce heat to Med-Low and STOP STIRRING. Insert candy thermometer.

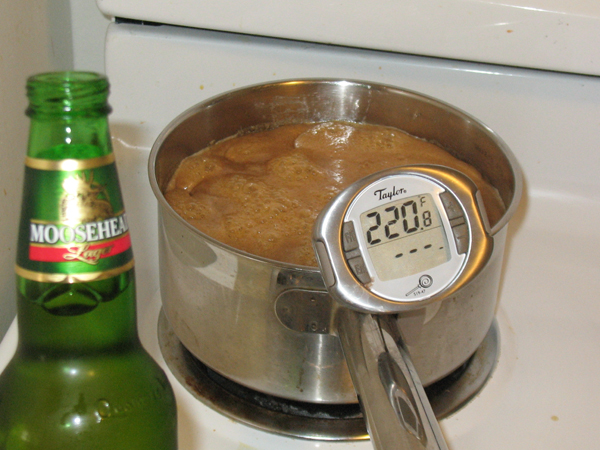
4. Once mixture reaches 238°F / 114°C, remove from heat. It takes a long time for the sugar to reach the correct heat, mine took about an hour. Hence the beer.
5. Just as it’s about to hit the right temperature, remove from stove and carefully place pot into cold water bath. DO NOT STIR. Sugar will keep getting hotter and hotter if you let it sit there, so the cold water bath will immediately bring down the temperature and prevents the fudge from overcooking.

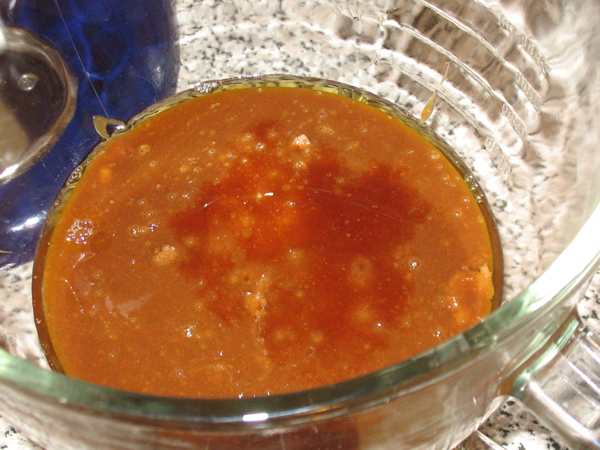
6. Let it cool for about an hour, until temp falls to 120°F / 49°C. Once the mixture has cooled to this stage, there will be a skim on top, just ignore it. Transfer to mixing bowl and pour in the vanilla.

Also don’t worry about the fat that rises to the surface.

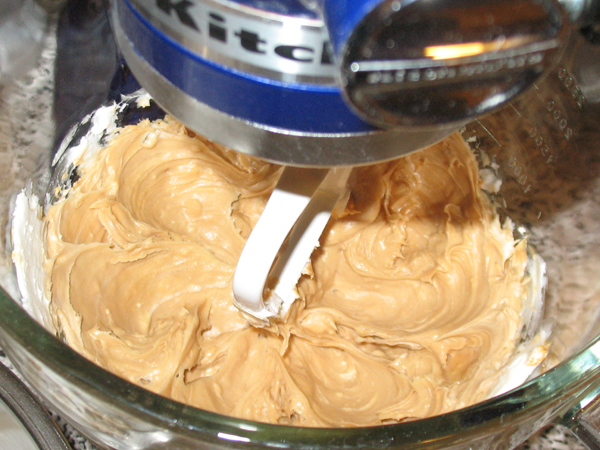
7. People tell you “beat until it loses the gloss” or “beat until it lightens”. That’s really hard to judge when you are new. Today’s fudge took 28 minutes of beating on speeds 1, 2, and 3. In the past I’ve had fudge turn into a brick under 9 minutes, so there is a learning curve here.
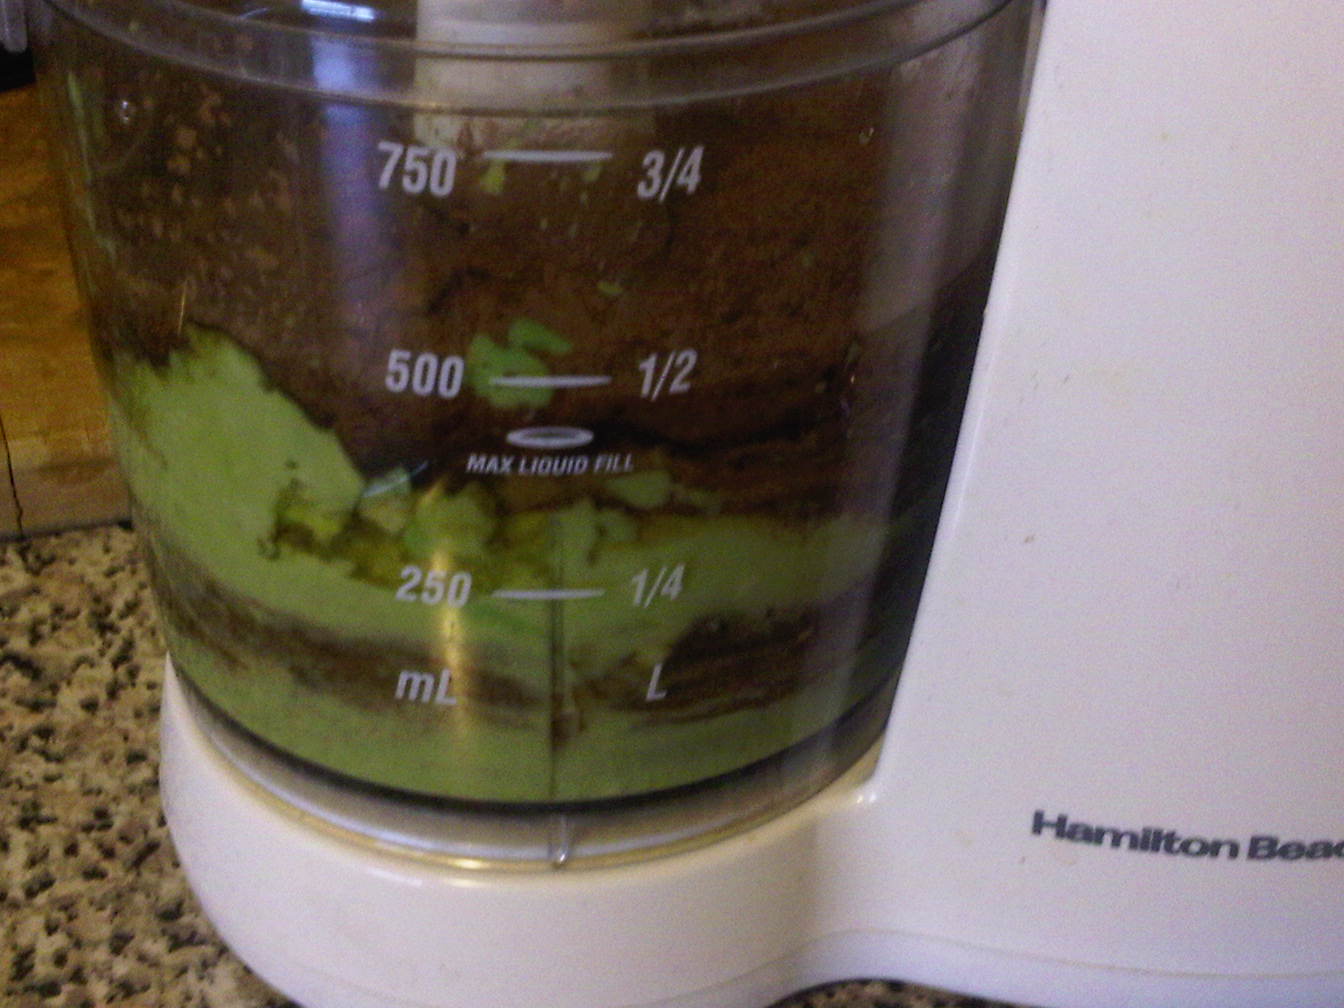
It was a dark molasses colour at first.

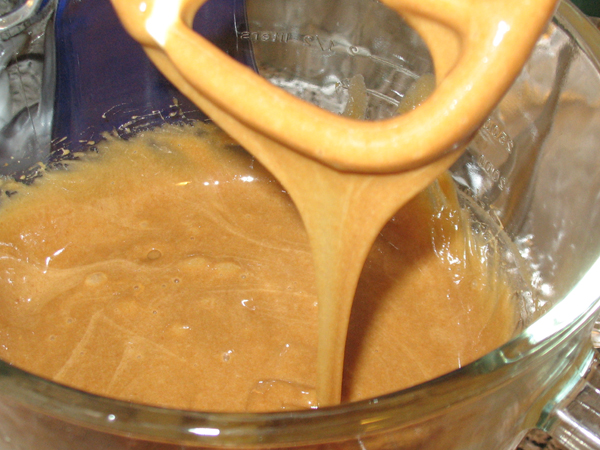
After about 10 minutes it had lightened considerably but was still runny.

Now 20 minutes in and I’m worried, why isn’t it firming up? What have I done wrong?

About 25 minutes, still seems fairly glossy, and runny, but when I raise the beater the ropey strands are getting stiff.

After 28 minutes I couldn’t take it anymore and stopped. I am not sure if it’s because a KitchenAid beats with such force, but it seemed like the beater was moving too easily through the fudge. When I would stop to scrape the bowl it was harder to do by hand so I figured it must be close to done.

8. Pour into prepared pan and let sit at least 4 hours. Hmmm, air bubbles. I don’t remember air bubbles in fudge before.

9. Lift out of pan and score the top with a knife, then slice into squares.

Real fudge is creamy, and sort of shears away from the knife. It also melts on your tongue, and tastes amazing. Like this!!

Verdict:
“Oh my God. Oh my God. Oh my God. It set. Come look, it set!!”
Sigh. So good. Am so happy.
Playlist: Celldweller – Stay With Me (Unlikely)