Great Aunt Lucy’s tea biscuits

IMG_3253

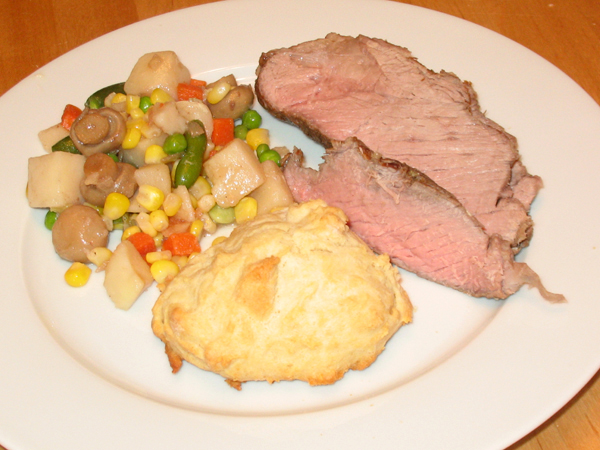
I love tea biscuits. Most everyone in my family does. Perhaps it’s genetic. It’s dreadfully cold here and I thought Sunday would be improved greatly if we had a slow-cooked dinner with tea biscuits. Prior to rolling up my sleeves, I called Mom to inquire about some of the finer points of biscuit-making since this was new territory for me.

“Now hunni, it’s a very wet batter. And if it doesn’t work out, don’t get discouraged.”

“That sounds ominous. Are these really tricky?”

(insert pause)

“No… just… don’t get discouraged, that’s all.”

With that fateful prediction in mind I got to work.

IMG_3229

Time required: 1  hour

Yields: 9  (supposed to be 12)

Total cost if you have none of the ingredients: $24

Cost per biscuit: $2

Kitchen implements I used:

  • Nemo the KitchenAid
  • baking trays lined with parchment paper

Ingredients:

  • 2 C flour
  • 1 TBSP white sugar
  • 4 tsp baking powder
  • ½ tsp salt
  • ½ C white shortening
  • 1 egg
  • 1 C milk

Instructions:

1. Pre-heat oven to 400° F / 204°C and line baking sheets with parchment paper.

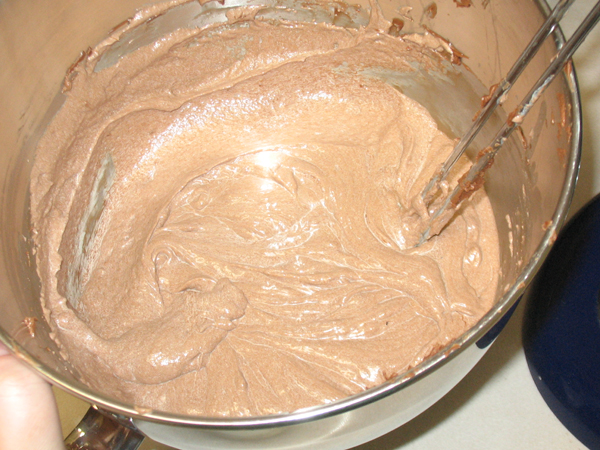
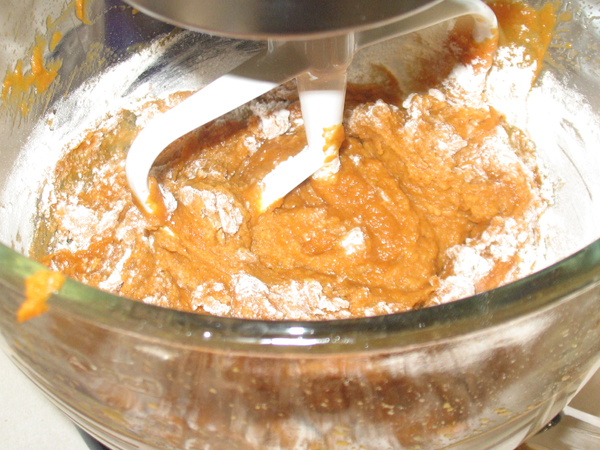
2. Combine the dry stuff. Now, if you have never run a stand mixer with only dry ingredients: DON’T. I forgot this crucial information.

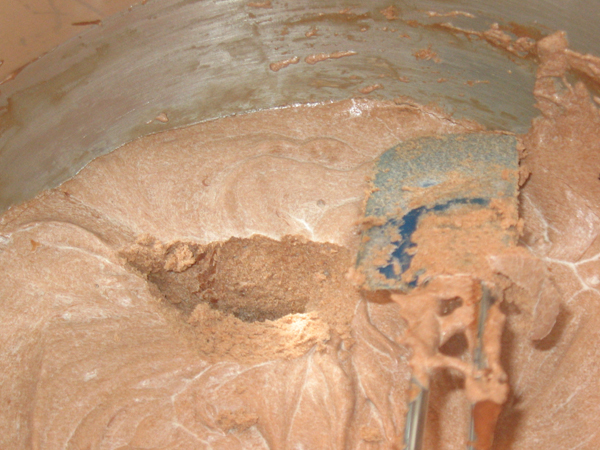
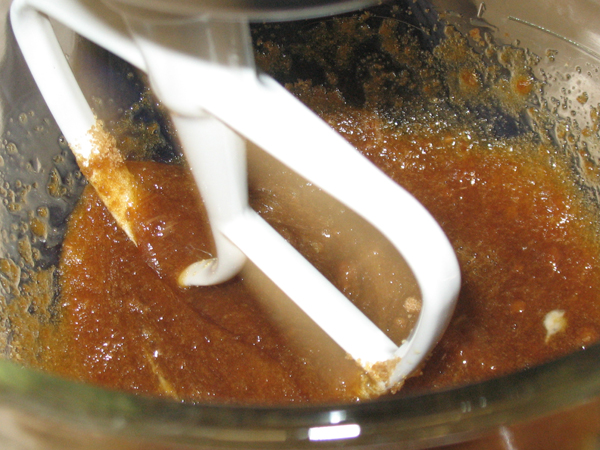
3. Beat in the shortening until coarse crumbs form.

IMG_3230

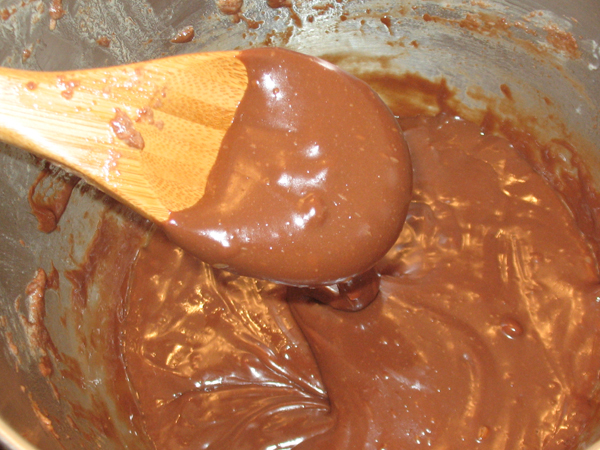
4. Add beaten egg and milk, stir in with a fork.

IMG_3231

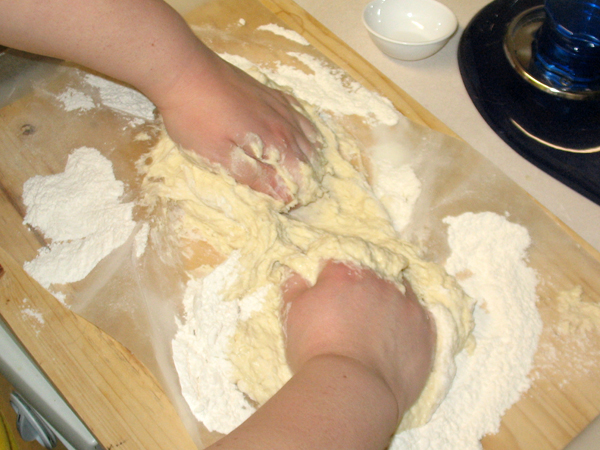
5. Turn batter onto floured surface. Get caught in the act of making mildly sorcerous hand gestures. WARNING. WARNING. Do not set wax paper on the surface. Put the flour right onto the cutting board or the counter top. Or you will be sorry.

IMG_3234

Puzzle over next part of the instructions.

6. Knead 20 times. Knead?

“Boyfriend, what does knead mean here? What do I do?”

“Um… it’s what the cat does when he sits on your lap, just try that.”

“Okay then!”

IMG_3246

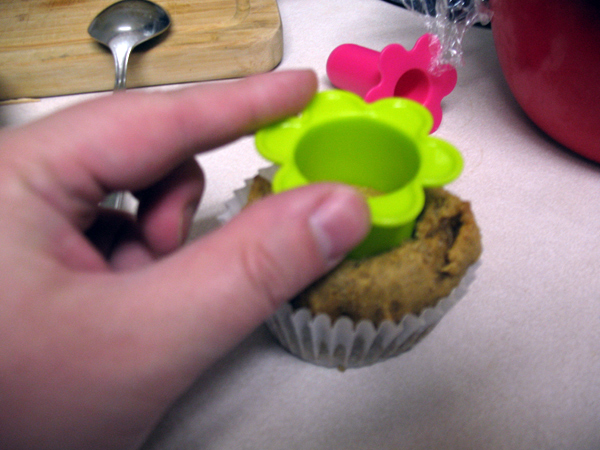
7. Cut out biscuits with a roundish shape. I didn’t want another dish to clean so I didn’t do that, and tore off pieces by hand, and plopped them onto the trays.

8. Bake 10-14 minutes. I checked at 10, not done. Gave it 2 more minutes, 2 more, 2 more, and at 16 they finally had that golden edge.

IMG_3252

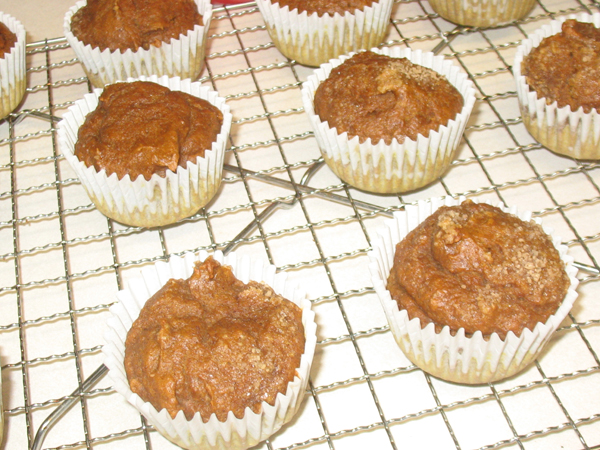
9. Remove from oven and immediately take off tray and transfer to cooling rack. Wait 5 min before eating.

IMG_3255

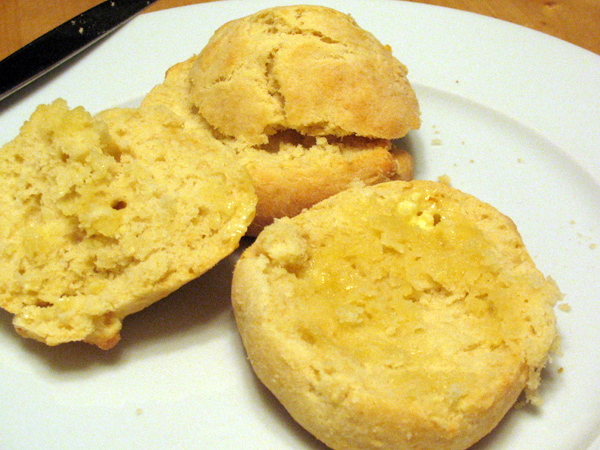
Very nice with a cup of tea. Or with dinner.

IMG_3260

Verdict: Success!  Thank you Aunt Lucy.

Playlist: Vampire Hunter D, OST

Toblerone truffles

So, my plan was to pipe Toblerone ganache into truffle shells, and dip them into perfectly tempered semi-sweet Belgian chocolate. I was envisioning something like a Lindt chocolate. After all, I had done this successfully before under the guidance of Hobby Victim and I was confident I could produce something worth keeping.

IMG_3216

Do you have any idea how annoying it is to pipe ganache?  Seriously? It sucks. It starts out simply enough. Take some truffle shells and dipping tools.

IMG_3197

Wrangle the ganache into a piping bag like a champion.

IMG_3207

Plan to snip a tiny corner off, and overdo it.  “Pipe” ganache into the shells.

IMG_3208

And by pipe I mean try to at least get some of the god damn stuff into the shell. At one point the chocolate shot out of the bag and got *everywhere*.  On the 3rd tray I got fed up and stopped.

IMG_3209

Now, dipping the first one looks so neat and contained. A perfect little truffle waiting to be enrobed in Belgian chocolate.

IMG_3210

However, all good things come to an end and after you’ve filled about half the tray, dripping chocolate starts to get everywhere. But after enough of them are dipped, a sense of pride starts to build. Smile at what you have wrought.

IMG-20131231-01551

After all, the tiny imperfections are the charm of homemade chocolates! They tasted pretty good, but the fillings hardened the next day, so I’m going to put some more experimentation into how to get a Lindt-like centre. Need a little more time at the drawing board for these but overall a success.

IMG_3211

Playlist: Celldweller


Ganache gone wild – WTF just happened

Ugh. On Sunday I spent 2.5 hours making a perfectly emulsified ganache for an experiment. I let it chill overnight, and it solidified. I am so steamed.

IMG_3202

Ganache is typically equal parts scalded cream to chopped chocolate, in this case Toblerone.  To achieve a proper ganache that doesn’t crack or separate, you need to emulsify it.  Emulsification is the process of combining two or more liquids, which normally don’t combine, into one. (Basically you stir and rest, stir and rest, chill, pass Go, collect two hundred dollars.) It was all going so well…

IMG_3185

I poured the heated cream onto the chocolate and let it sit for bit, and then stirred every 15 minutes, for 2 hours.

IMG_3189

The hell with stirring by hand. I’ll let Nemo do the work for me. After all that is what I have a stand mixer for, who wants to stand there the entire time? I have video games to play.

IMG_3192

After 2 hours, it had lightened considerably, and had a smooth texture. All okay so far.

So I covered it with saran, and stupidly forgot to press it down to the surface, so the surface hardened.

IMG_3194

I intended to use it on Monday but I was busy. I took it out of the fridge today, and lo and behold.

IMG_3201

What. Is. This? I tried to save it by reheating but the fat started to separate. Wuah! This is no good.

IMG_3204

I figured it might be salvageable if I could stir heated cream into it, and miracle of miracles, it seemed to recover.

IMG_3206

Alright, we’re cooking with gas now. As to what I made this for, well, just stay right there and find out. Next year.

“The charm of homemade chocolates!”

That phrase is code for “something went wrong”.

IMG_3172

The first time I poured chocolate into molds, they had lots of air bubbles. I complained to my sister who wisely explained it’s like Ed Norton’s glassware in Fight Club, the little imperfections show it was hand-crafted and it’s just the charm of homemade chocolates. So now every time something untoward happens while I’m chocolatiering, you will hear an indignant curse from me, followed by a soothing assurance from Boyfriend Unit, “It’s the charm of homemade chocolates, don’t worry.”

And what goes wrong when you are making chocolates, pray tell? Air bubbles, cracks, bloom (cloudy spots), smudges, melting, seizing, fillings not centered, fillings exploded,  misprint on map, et cet. But I no longer care. Because I know, when people open the box…

IMG_3177

… and eat one, they are all “OMFG”. And that makes me smile.

IMG_3171

We make a 9 piece box, with one dark chocolate, three milk chocolates, and five semi-sweet chocolates. This year Boyfriend Unit experimented with a sea salt dark chocolate since he hates raspberry cream. He really liked the result.

Using a full-sized block of chocolate was a new experience. This is a 5 kilo or 11 pound block of Barry Callebaut Belgian chocolate, classified as a well-balanced bitter cocoa taste, 53.8% cocoa solids. This is the base of all my semi-sweet chocolates.

IMG_3150

I was so excited to open this!

IMG_3154

Just look at that! That is a lot of chocolate.

IMG_3157

My mother asked recently about my weekend plans.

“Making chocolate.”

“Oh hunni? Could you maybe send less dark chocolate this year?”

“Mom, there is one dark chocolate per box!”

“Oh hunni, that’s too much! I don’t like dark chocolate.”

“Ok Mom. No dark chocolate in yours.”

Stay tuned for how this was made and where to get supplies.

Born to dye

Experiments with natural dyes have run amok. Using spinach, turmeric, and beets, I was able to produce pots of bright dye, but adding them to the fillings did not accomplish much.

IMG_3143

Have you ever had an idea that seemed really great in your head? When I was little, I decided I would carve a wooden deer for my dad on Father’s Day. I had no source of income, ergo my consumer purchasing power was nil. So I decided to carve! Mind you I had no experience with carving, but I did have a stack of firewood and Dad’s set of carving tools. Several hours later, I had a mangled piece of wood and some splinters for my pain, no deer; that’s what homemade dye brings to mind.

The concept of dying my chocolate fillings seemed solid.  Making a pot of dye is fairly simple, simmer about 4 cups of water with ½ C of puréed vegetable or spice, and voila! But after the dye is made, adding it to the filling did not change the colour. Oh, woe.

Notes from the drawing board:

This base yields enough filling for 30 centres x 4 flavours, 120 pieces total.

Combine: 2 C icing sugar, 1½ TBSP unsalted butter, ¼ tsp vanilla, 2 TBSP evaporated milk.  Divide into 4 bowls.

Add flavouring oils to 3 bowls (none for the butter creams)

Peppermint oil = extremely potent, no more than 3 small drops. Several drops of spinach dye, no discernible difference. Cannot taste spinach.

Raspberry cream oil = very potent, 3 small drops quite strong also.  Adding 8 drops of beat juice sweetened it, yields soft pink colour.

Orange cream oil = weak, lost count after 30 drops, flavour is mild and weak bouquet, wtf. Several drops of turmeric dye, no change. Cannot taste spice.

mario

I like the idea of dying my chocolate fillings for two reasons:

  1. I am a 2-bite chocolate person. I like to look at the centre before it’s gone, so I want to see a pink raspberry cream or an orange filling
  2. It’s difficult to keep 4 bowls of fillings straight, after awhile your sense of smell and taste goes numb and you sit there, “Is this the orange cream or the butter cream??” The different colours would make it easy.

I don’t want to give up and use artificial dye. After all, my chocolate packaging hails them as containing “dairy, nuts, and all-natural vegetable dyes”. It’s either figure it out or give up on dye. It tooks days to get the letter spacing just so, no way in hell am I redrawing the chocolate map.

Boyfriend asked me, “Why do you want to dye peppermint patties green anyway? Aren’t they white??”

I think it was that I wanted 4 distinct colours since we had 4 flavoured cream fillings, and I thought peppermint leaves are green, raspberries are pink, butter is yellow, and orange is orange.

My problem is I don’t experiment before I need the dye, I just assume I will do XZY on Chocolate Shoppe Day and it will work. Clearly I need to try substituting more of the evaporated milk with the dye to balance out the liquid, and add enough to see the colour, yet not taste the base of the dye, perhaps more icing sugar to stiffen it up.

Playlist: Halo 2 – Mjölnir Mix

Milk chocolates – all done


What was it like to use a professional chocolate tempering machine? Fabulous. Amazing. Spectacular. Am running out of adjectives. It works so well and it’s so fast. (Product review will be posted after Christmas.)

IMG_3137

So basically my our tempering machine works even better than I had imagined.  Yesterday Boyfriend and I made 66 solid milk chocolates (above), and 51 toasted almond milk chocolates (below). Look at that beautiful gloss!

IMG_3136

Today we are going to make the Toberlone pieces, and then the milk chocolate is all done, next weekend is for the more labour-intensive filled chocolates. And the peppermint bark. Huzzah!

IMG-20131207-01301

“Why do you have to name it?!?”

“I just do. And its name is Bernard. Deal with it.”

Step up your chocolatiering

IMG_3124

So, what is it?  This is a chocolate tempering machine by ChocoVision. Tempering is the finicky process of heating and cooling chocolate to specific degrees to get a glossy product that keeps its shape at room temperature and has a lovely snap.

I really love making homemade chocolates and I make a lot, which takes about 3 days to temper all the chocolate I need. This machine is going to speed up production and ensure results consistency. Or so I hope. Will review it in full after use. Its maiden voyage is tomorrow and I quiver with anticipation.

It arrived…

… with a capacity of 1.5 lbs, running at 110 volts, and 60 Hz; what could it be?

IMG_3123


Boyfriend Unit asked me what I thought about the two of use purchasing this, as a Christmas present to each other. Would I?!

I asked him, “Are you sure?”

He said, “Yup, I’m sure.”

Stay tuned until tomorrow.

If you know what this is, click Like.

If you don’t, leave a comment!

Pumpkin muffins – round 2

IMG_3106

After being slightly underwhelmed by my first attempt at making pumpkin muffins, I went back to the drawing board.  I made some changes to the ingredient proportions and baking time:

  • 2½ C of flour (instead of 1½ C)
  • 1 tsp ground cinnamon
  • 1 tsp ground cardamom (didn’t have this last time)
  • ½ tsp ground nutmeg
  • ½ tsp ground ginger
  • ½ tsp salt
  • ½ tsp baking soda
  • ¼ tsp ground cloves
  • ¼ tsp pumpkin pie spice
  • ¼ tsp all spice
  • 2 eggs
  • 1 C packed golden brown sugar (instead of dark brown sugar)
  • pods from half of a vanilla bean, split and scraped
  • 2 TBSP vegetable oil
  • 1 C of pure pumpkin (instead of 2 C)
  • a sprinkle of turbinado sugar

IMG_3086

The batter was really dry. I was a bit worried they wouldn’t settle into the muffin cups but I think they look cute.

IMG_3091

These were baked 18 minutes (the original ones were in for 25). In retrospect 18 minutes was not quite enough, I’ll try 20 next time.

They were cooled in the pan 1 minute before being transferred to the rack.

Now this is the fun part. Use a cupcake corer (thank you M!) and stuff them with cream cheese frosting.

IMG_3092
Woah this thing works way better than a knife.

IMG_3094

And voila!

IMG_3106

Verdict: Hmm. I liked this much more than round 1. Boyfriend-Unit loved them. I think there is still room for improvement however, so next time I’ll up the pumpkin ratio a bit, and decrease the cardamom.

Playlist: Katatonia – Into the White

Patty’s pumpkin cream cheese muffins – round 1

I decided to reverse-engineer a pumpkin cream cheese muffin after the underwhelming experience of buying one from StarBucks. This is my first attempt at making pumpkin muffins, and I made them the morning after seeing Nine Inch Nails live, which really has nothing to do with making muffins, but there you go. The muffins were edible, but have room for improvement. Trent Reznor, I am happy to report, does not require any improvement.

(Update Oct 19: round 2 is much better)

IMG_2841

I was surprised to see that the ingredient cost of this made this the most expensive thing I have ever baked, even steeper than the the Bailey’s chocolate cheesecake. Yikes.

IMG_2808

Time required: 1 hour

Yields: 14

Total cost if you have none of the ingredients: $79 if iced, $54 if plain

Cost per muffin: $5.64 if iced, $3.85 if plain

Kitchen implements I used:

  • Nemo the KitchenAid
  • muffin tin + large liners

Muffin ingredients:

  • 1½ C flour
  • 1 tsp ground cinnamon
  • ½ tsp ground nutmeg
  • ½ tsp ground ginger
  • ½ tsp fine sea salt
  • ½ tsp baking soda
  • ¼ tsp ground cloves
  • ¼ tsp pumpkin pie spice
  • ¼ tsp all spice
  • 2 eggs
  • 1 C packed brown sugar
  • pods from half of a vanilla bean, split and scraped
  • 2 TBSP vegetable oil
  • 2 C of pure pumpkin
  • a sprinkle of turbinado sugar

Frosting ingredients:

  • 1 block of cream cheese, softened
  • 4 TBSP butter, softened
  • 1 TBSP milk
  • 1 TBSP lemon juice
  • 1 tsp vanilla
  • 4 C icing sugar

Instructions:

1. Pre-heat oven to 350°F / 176°C and put muffin liners into pan.

2. Combine in a bowl: flour and spices.

IMG_2810

3. In mixer; cream the eggs and sugar until smooth.

IMG_2812

4. Mix in canned pumpkin, vegetable oil, and vanilla bean pods. (Reserve the shell for something else).

IMG_2814

5. Gradually add flour mixture to wet, and don’t overbeat.

IMG_2815

6. Spoon into tray, and dust with turbinado sugar.

IMG_2818

7. Bake 25 min. (Checked at 20 and but still too springy.)

8. Cool in pan 5 min before transferring to rack.

IMG_2821

9. Make the icing by combining everything in one bowl. This is precise science, people.

IMG_2819

10. Use a knife to score a circle around the muffin tops and press the knife down, then lift up, and pry out the top. You will have a little muffin cone lid. Slice off the bottom part until you have a thin top remaining. Now stuff that bad boy with cream cheese and replace the top.

IMG_2824

Verdict: They were good, but the muffin texture really changed overnight, they seem overly moist today. I tried one without icing, and the pumpkin was a bit too strong. Then again cream cheese icing is also a very strong flavour, so… hard to say. I sent my friend home with one but forgot to ice it. Oops. Overall I was pleased with how it turned out, and I think for round 2 I’ll add a few more spices, and cut back on the pumpkin and see how that goes.

Playlist: Nine Inch Nails – Terrible Lie