Born to dye

Experiments with natural dyes have run amok. Using spinach, turmeric, and beets, I was able to produce pots of bright dye, but adding them to the fillings did not accomplish much.

IMG_3143

Have you ever had an idea that seemed really great in your head? When I was little, I decided I would carve a wooden deer for my dad on Father’s Day. I had no source of income, ergo my consumer purchasing power was nil. So I decided to carve! Mind you I had no experience with carving, but I did have a stack of firewood and Dad’s set of carving tools. Several hours later, I had a mangled piece of wood and some splinters for my pain, no deer; that’s what homemade dye brings to mind.

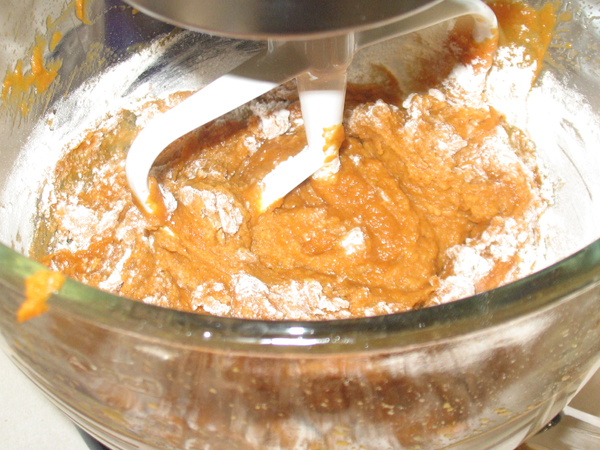
The concept of dying my chocolate fillings seemed solid.  Making a pot of dye is fairly simple, simmer about 4 cups of water with ½ C of puréed vegetable or spice, and voila! But after the dye is made, adding it to the filling did not change the colour. Oh, woe.

Notes from the drawing board:

This base yields enough filling for 30 centres x 4 flavours, 120 pieces total.

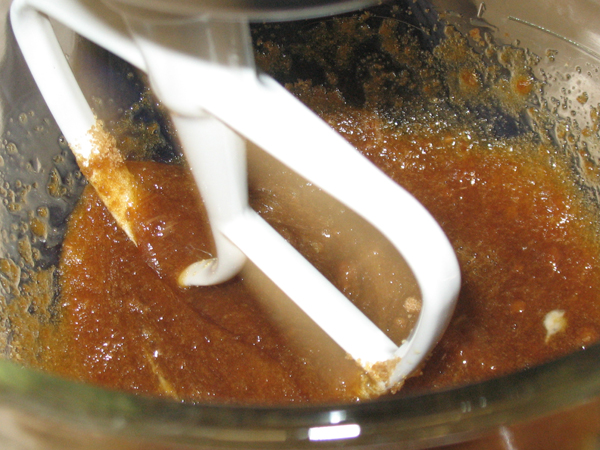
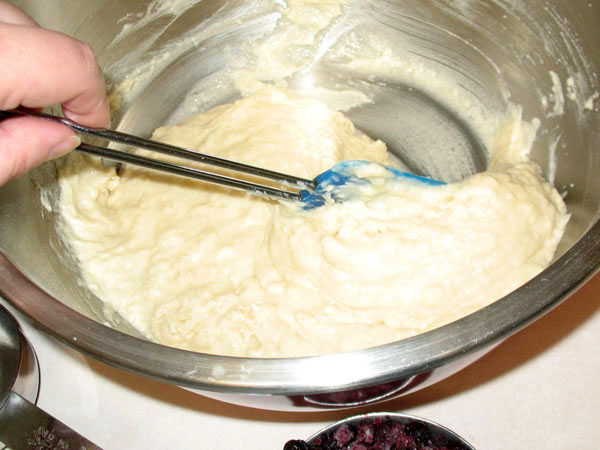
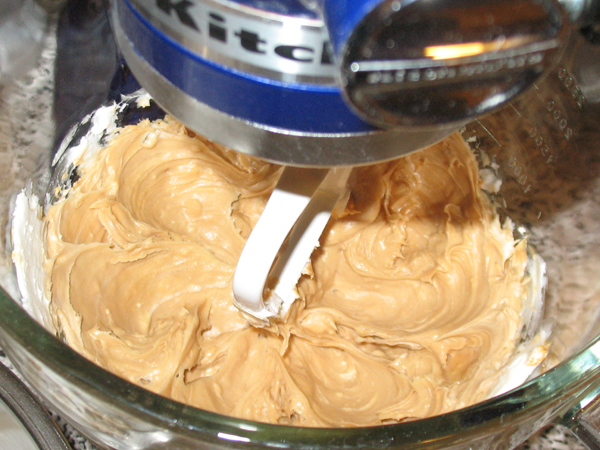
Combine: 2 C icing sugar, 1½ TBSP unsalted butter, ¼ tsp vanilla, 2 TBSP evaporated milk.  Divide into 4 bowls.

Add flavouring oils to 3 bowls (none for the butter creams)

Peppermint oil = extremely potent, no more than 3 small drops. Several drops of spinach dye, no discernible difference. Cannot taste spinach.

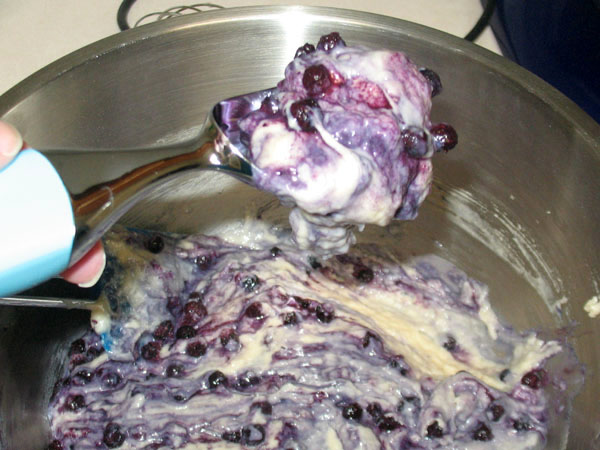
Raspberry cream oil = very potent, 3 small drops quite strong also.  Adding 8 drops of beat juice sweetened it, yields soft pink colour.

Orange cream oil = weak, lost count after 30 drops, flavour is mild and weak bouquet, wtf. Several drops of turmeric dye, no change. Cannot taste spice.

mario

I like the idea of dying my chocolate fillings for two reasons:

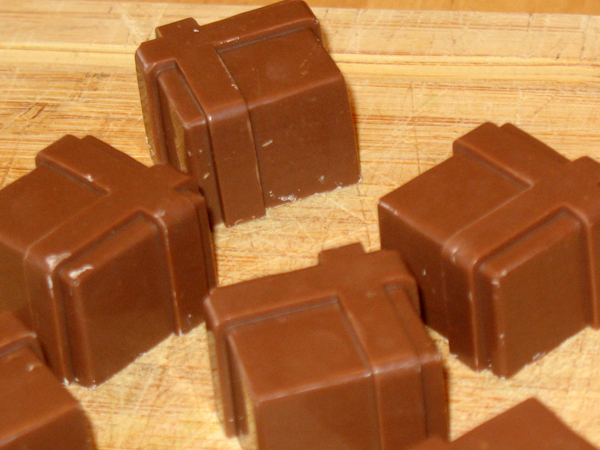
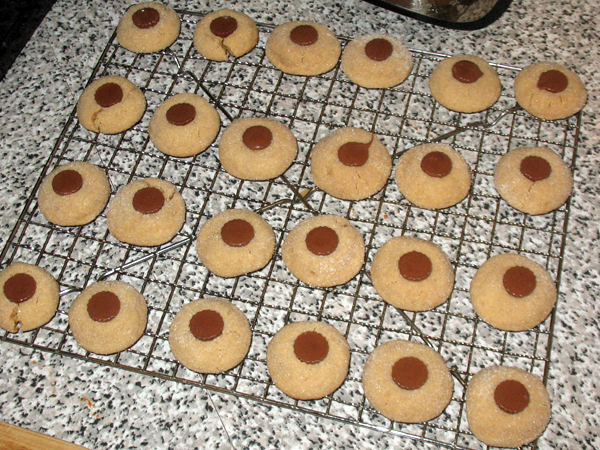
  1. I am a 2-bite chocolate person. I like to look at the centre before it’s gone, so I want to see a pink raspberry cream or an orange filling
  2. It’s difficult to keep 4 bowls of fillings straight, after awhile your sense of smell and taste goes numb and you sit there, “Is this the orange cream or the butter cream??” The different colours would make it easy.

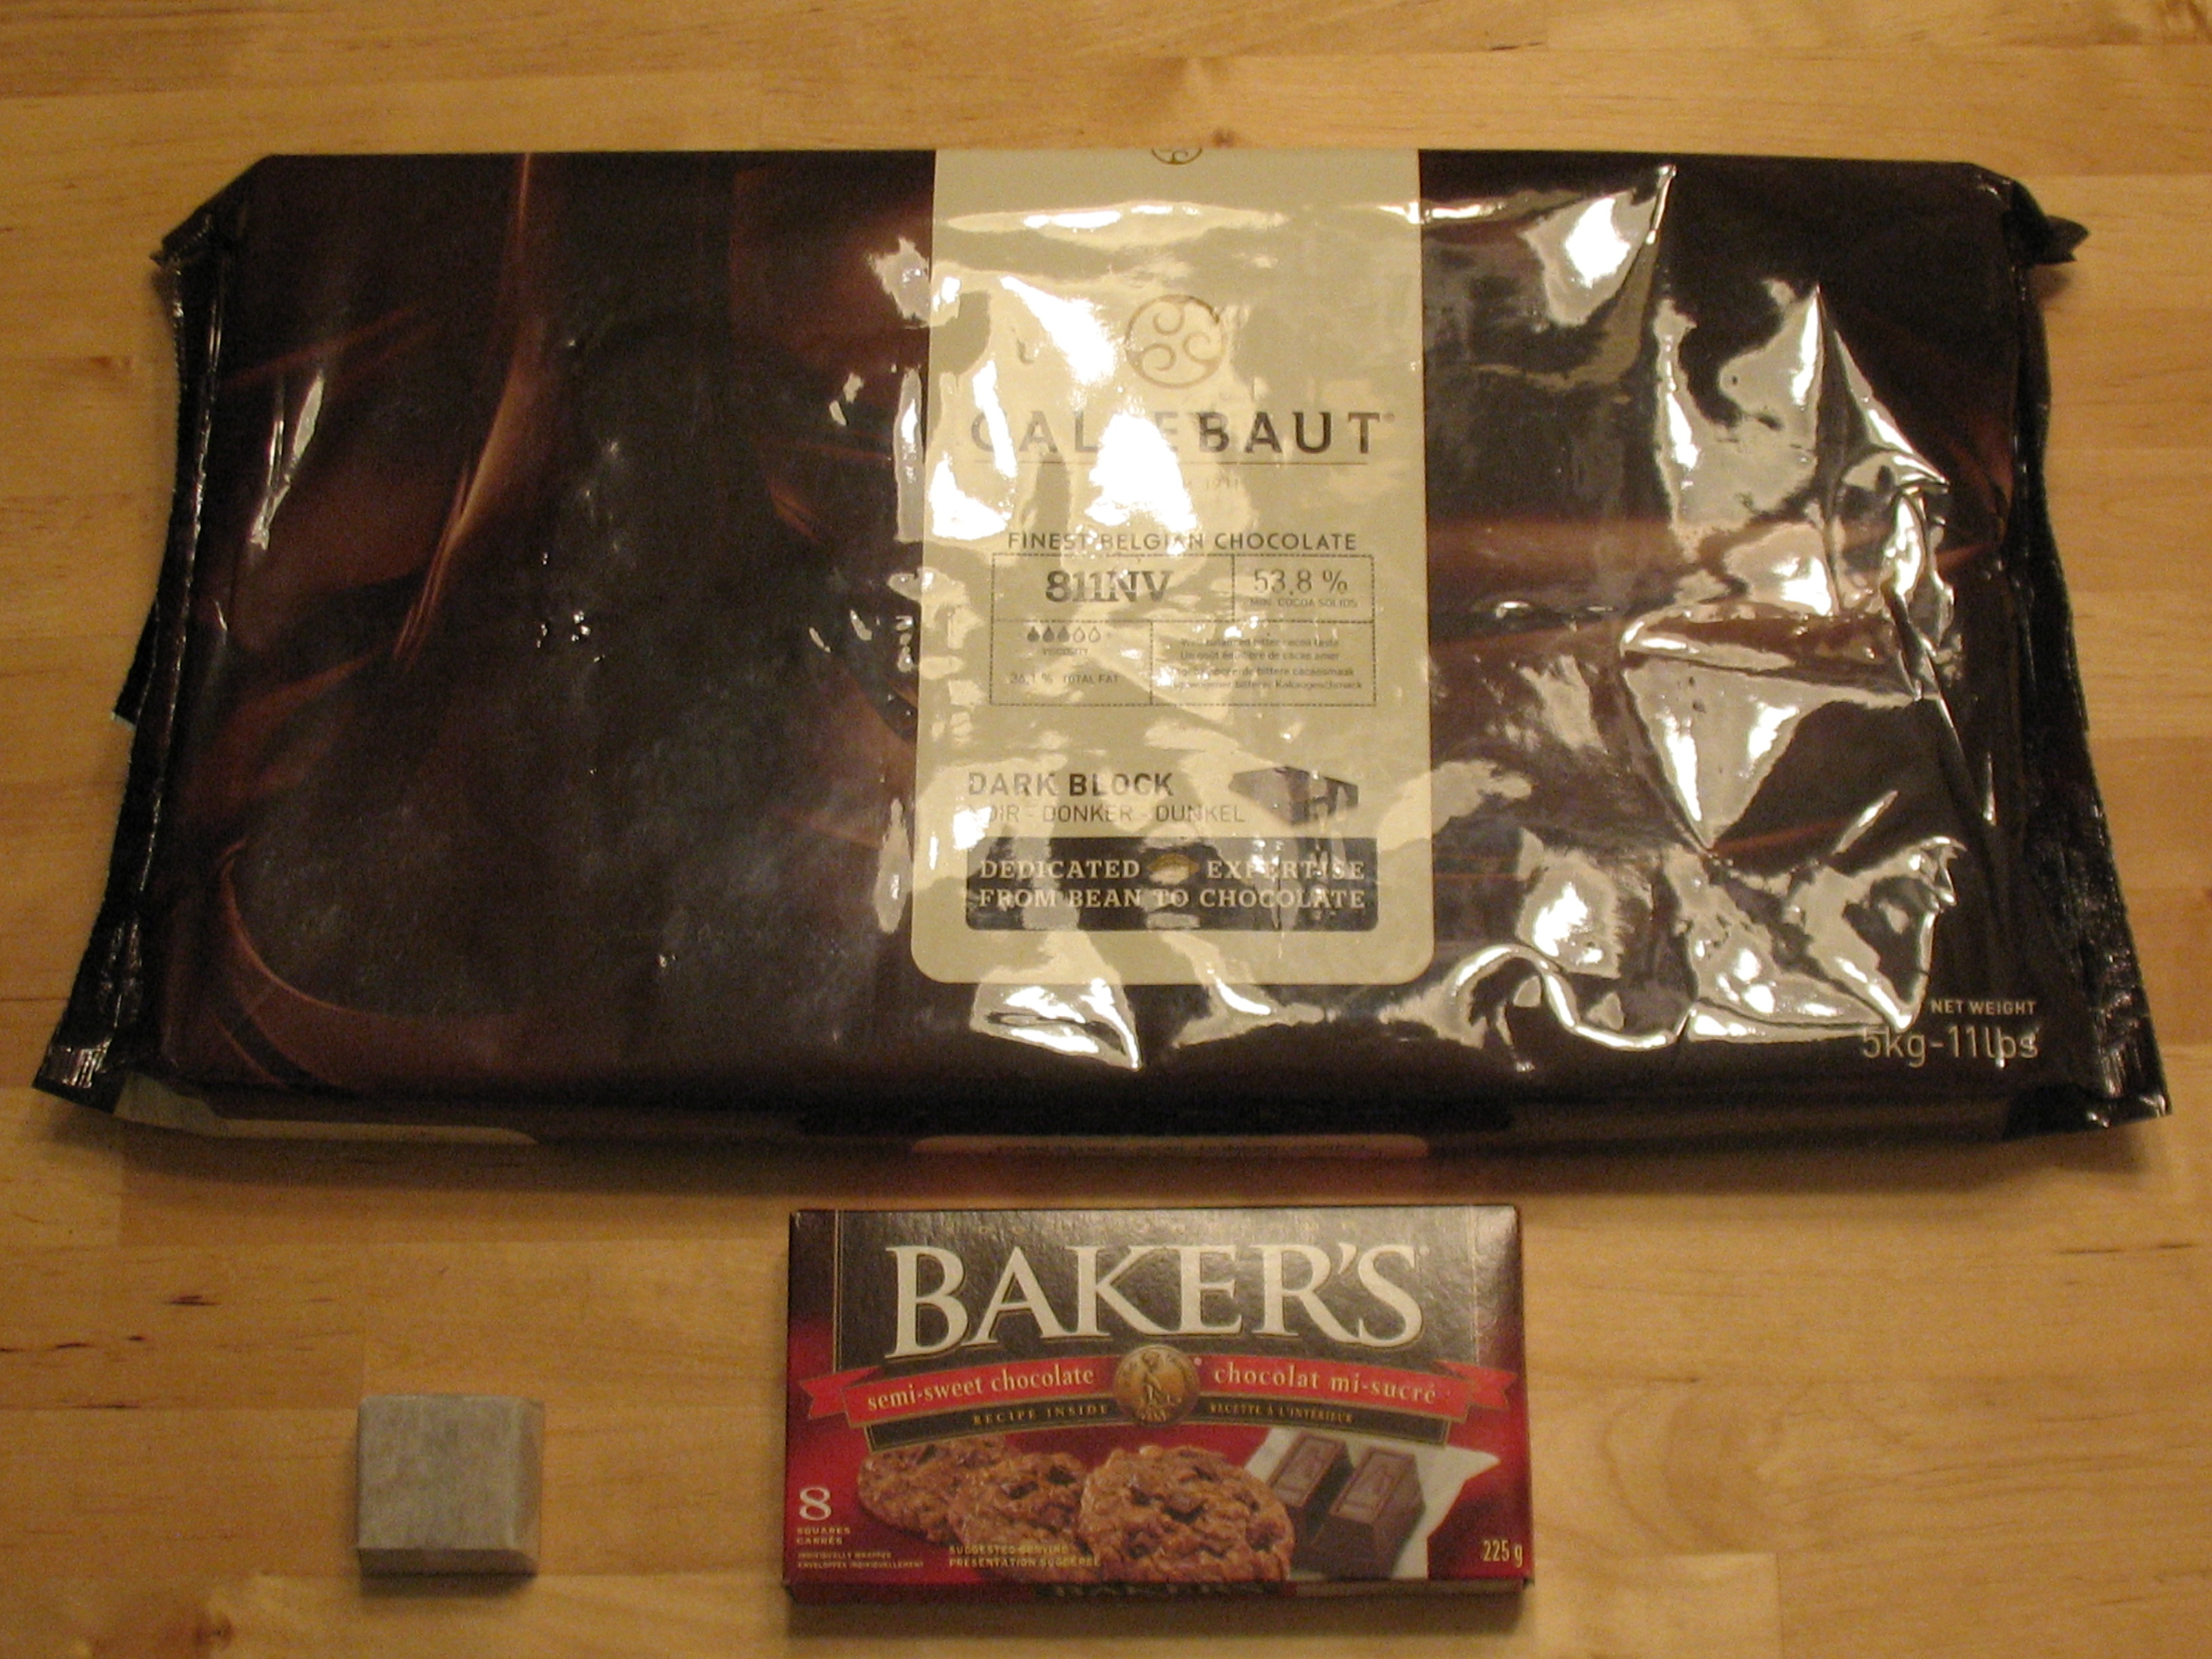
I don’t want to give up and use artificial dye. After all, my chocolate packaging hails them as containing “dairy, nuts, and all-natural vegetable dyes”. It’s either figure it out or give up on dye. It tooks days to get the letter spacing just so, no way in hell am I redrawing the chocolate map.

Boyfriend asked me, “Why do you want to dye peppermint patties green anyway? Aren’t they white??”

I think it was that I wanted 4 distinct colours since we had 4 flavoured cream fillings, and I thought peppermint leaves are green, raspberries are pink, butter is yellow, and orange is orange.

My problem is I don’t experiment before I need the dye, I just assume I will do XZY on Chocolate Shoppe Day and it will work. Clearly I need to try substituting more of the evaporated milk with the dye to balance out the liquid, and add enough to see the colour, yet not taste the base of the dye, perhaps more icing sugar to stiffen it up.

Playlist: Halo 2 – Mjölnir Mix

Milk chocolates – all done


What was it like to use a professional chocolate tempering machine? Fabulous. Amazing. Spectacular. Am running out of adjectives. It works so well and it’s so fast. (Product review will be posted after Christmas.)

IMG_3137

So basically my our tempering machine works even better than I had imagined.  Yesterday Boyfriend and I made 66 solid milk chocolates (above), and 51 toasted almond milk chocolates (below). Look at that beautiful gloss!

IMG_3136

Today we are going to make the Toberlone pieces, and then the milk chocolate is all done, next weekend is for the more labour-intensive filled chocolates. And the peppermint bark. Huzzah!

IMG-20131207-01301

“Why do you have to name it?!?”

“I just do. And its name is Bernard. Deal with it.”

Pumpkin muffins – round 2

IMG_3106

After being slightly underwhelmed by my first attempt at making pumpkin muffins, I went back to the drawing board.  I made some changes to the ingredient proportions and baking time:

  • 2½ C of flour (instead of 1½ C)
  • 1 tsp ground cinnamon
  • 1 tsp ground cardamom (didn’t have this last time)
  • ½ tsp ground nutmeg
  • ½ tsp ground ginger
  • ½ tsp salt
  • ½ tsp baking soda
  • ¼ tsp ground cloves
  • ¼ tsp pumpkin pie spice
  • ¼ tsp all spice
  • 2 eggs
  • 1 C packed golden brown sugar (instead of dark brown sugar)
  • pods from half of a vanilla bean, split and scraped
  • 2 TBSP vegetable oil
  • 1 C of pure pumpkin (instead of 2 C)
  • a sprinkle of turbinado sugar

IMG_3086

The batter was really dry. I was a bit worried they wouldn’t settle into the muffin cups but I think they look cute.

IMG_3091

These were baked 18 minutes (the original ones were in for 25). In retrospect 18 minutes was not quite enough, I’ll try 20 next time.

They were cooled in the pan 1 minute before being transferred to the rack.

Now this is the fun part. Use a cupcake corer (thank you M!) and stuff them with cream cheese frosting.

IMG_3092
Woah this thing works way better than a knife.

IMG_3094

And voila!

IMG_3106

Verdict: Hmm. I liked this much more than round 1. Boyfriend-Unit loved them. I think there is still room for improvement however, so next time I’ll up the pumpkin ratio a bit, and decrease the cardamom.

Playlist: Katatonia – Into the White

Patty’s pumpkin cream cheese muffins – round 1

I decided to reverse-engineer a pumpkin cream cheese muffin after the underwhelming experience of buying one from StarBucks. This is my first attempt at making pumpkin muffins, and I made them the morning after seeing Nine Inch Nails live, which really has nothing to do with making muffins, but there you go. The muffins were edible, but have room for improvement. Trent Reznor, I am happy to report, does not require any improvement.

(Update Oct 19: round 2 is much better)

IMG_2841

I was surprised to see that the ingredient cost of this made this the most expensive thing I have ever baked, even steeper than the the Bailey’s chocolate cheesecake. Yikes.

IMG_2808

Time required: 1 hour

Yields: 14

Total cost if you have none of the ingredients: $79 if iced, $54 if plain

Cost per muffin: $5.64 if iced, $3.85 if plain

Kitchen implements I used:

  • Nemo the KitchenAid
  • muffin tin + large liners

Muffin ingredients:

  • 1½ C flour
  • 1 tsp ground cinnamon
  • ½ tsp ground nutmeg
  • ½ tsp ground ginger
  • ½ tsp fine sea salt
  • ½ tsp baking soda
  • ¼ tsp ground cloves
  • ¼ tsp pumpkin pie spice
  • ¼ tsp all spice
  • 2 eggs
  • 1 C packed brown sugar
  • pods from half of a vanilla bean, split and scraped
  • 2 TBSP vegetable oil
  • 2 C of pure pumpkin
  • a sprinkle of turbinado sugar

Frosting ingredients:

  • 1 block of cream cheese, softened
  • 4 TBSP butter, softened
  • 1 TBSP milk
  • 1 TBSP lemon juice
  • 1 tsp vanilla
  • 4 C icing sugar

Instructions:

1. Pre-heat oven to 350°F / 176°C and put muffin liners into pan.

2. Combine in a bowl: flour and spices.

IMG_2810

3. In mixer; cream the eggs and sugar until smooth.

IMG_2812

4. Mix in canned pumpkin, vegetable oil, and vanilla bean pods. (Reserve the shell for something else).

IMG_2814

5. Gradually add flour mixture to wet, and don’t overbeat.

IMG_2815

6. Spoon into tray, and dust with turbinado sugar.

IMG_2818

7. Bake 25 min. (Checked at 20 and but still too springy.)

8. Cool in pan 5 min before transferring to rack.

IMG_2821

9. Make the icing by combining everything in one bowl. This is precise science, people.

IMG_2819

10. Use a knife to score a circle around the muffin tops and press the knife down, then lift up, and pry out the top. You will have a little muffin cone lid. Slice off the bottom part until you have a thin top remaining. Now stuff that bad boy with cream cheese and replace the top.

IMG_2824

Verdict: They were good, but the muffin texture really changed overnight, they seem overly moist today. I tried one without icing, and the pumpkin was a bit too strong. Then again cream cheese icing is also a very strong flavour, so… hard to say. I sent my friend home with one but forgot to ice it. Oops. Overall I was pleased with how it turned out, and I think for round 2 I’ll add a few more spices, and cut back on the pumpkin and see how that goes.

Playlist: Nine Inch Nails – Terrible Lie

Blueberry muffins

IMG_2785

I love blueberry muffins. My mom makes amazing blueberry muffins, and hers are the standard to which every other muffin falls short. She uses the recipe of her good friend.

I grew up within a short drive of the Wild Blueberry Capital of Canada, and blueberries are the official fruit of my home province. Represent, bitches.

oxford

There is a large blueberry field behind my dad’s cottage, so I have eaten a lot of blueberries in my life. In fact blueberries are such a big deal where I grew up, we have town festivals to celebrate them. Imagine. Everybody turns out just to pimp one particular fruit. When I was little, we’d dress in blue shirts and stand on marked spots to form a big human blueberry and they’d take aerial photos.

IMG_2760

Time required: 1 hr

Yields: 14

Total cost if you have none of the ingredients: $28

Cost per muffin: $2

Kitchen implements I used:

  • muffin tin + large muffin liners

Ingredients:

  • 2 C flour
  • ½ C granulated white sugar
  • ½ tsp salt
  • 3½ tsp baking powder
  • 1 C milk
  • ⅓ C vegetable oil
  • 1 egg
  • 1 C blueberries

Instructions:

1. Pre-heat open to 400°F / 204°C and put muffin liners in tray.

2. Combine the dry ingredients in a large bowl.

3. Measure out the milk and oil into a liquid measuring cup.

IMG_2762

4. Beat egg until it’s foamy, then add to liquid.

IMG_2763

5. Add wet to dry, stirring until just combined. The batter will have a slight pull to it.

IMG_2772

6. Fold in the blueberries. Hopefully you have Canadian berries, but if not I guess you’ll have to make do with your inferior fruit. Frozen berries bleed colour but who cares because the bluer the merrier.

IMG_2773

7. Spoon batter into prepared tray.

IMG_2774

Leave some room for expansion.

IMG_2775

8. Bake 18-20 minutes and move to wire rack.

IMG_2780

9. After cooling, store in a sealed container. Take one with your tea and call me in the morning.

IMG_2790

Verdict: Delicious!  The texture improved over night.

I did try one last night after they were freshly made, and found it a bit disappointing. The bottom of the muffin stuck to the liner.  I called Mom, who suggested bake them for 15 minutes, leave them in tray for 2 minutes, then transfer to wire rack.

But when I had one this morning, it was bang on and the liner peeled off without sticking. So I think I’ll reduce baking time by 2 minutes next time and see how it goes.

Playlist: Final Fantasy VI – Another World of Beasts

“Give it to us raw, Precious!”

My latest attempt at banana bread resulted in something that fooled the senses at first. It smelled done, it felt done, and the toothpick test (in 5 places) indicated it was cooked through, so I served it.

IMG_2753

The first slice was fine.  The second slice was fine. Sometime later, I noticed it was a bit… juicy. I dissected the loaf and the centre was jiggly. It was so raw, I became rather disgusted and put the camera down. It couldn’t, shouldn’t, be photo-documented any further. I confided to my bestie about what happened.

IMG_2759

“That’s amazing. You and loaves of anything don’t mix.”

It’s true! My ginger loaf and banana breads always come out of the oven screwed up.  Maybe I need more practice. In the Year of Pie and the Trials and Tribulations of Fudge, it didn’t take too long to get it right. I just made it all the time for awhile (my guts are recoiling in memory) until I got it right.

So; practice. The worst part of making banana bread is letting the bananas ripen.  There is a fine line between over-ripe fruit and putrefied fruit, turn your back for a few hours and suddenly instead of squashing mushy bananas, you are splitting the skin with a knife and watching the clear fluid burst out like a floater fished from the river. Zombie fruit on the counter isn’t my idea of a good time. Experiments in cellular degeneration gone awry.

Oh well. Time to get back to The Rotting Bread.

Peanut butter blossoms (by Boyfriend!)

IMG_2022

This recipe comes from BHG: New Cookbook: 12th edition which is available on Amazon.com and Amazon.ca

Time required: 1 hr

Yields: 54

Total cost if you have none of the ingredients: $48

Cost per cookie: 88 cents

Spring is in the air folks… The cats are acting like kittens, my allergies are flaring up in huge raging hives, and the bake sales at work have begun for another season.

I was asked if SpatulaGoddess could make something for the bake sale fundraiser for whichever cancer research thing was going on at the time, and I said “No. but I can make something for you.”, not offended by this but it seems my colleagues forget that I was baking my own goods before I met SpatulaGoddess.  I won’t say that I have ever made anything as exquisite as my lovely, but I have never served anything that lasted, and the compliments abound… maybe it’s just been too long since I’ve baked for them… BAH!!!

I love peanut butter cookies who doesn’t?   I know the ones I love are in the Red Checkered Cookbook that my mom used, and also got for me when I moved out, so I went looking there, my original plan was to make peanut butter ninjamen cookies, but once I found page 218 in that wonderful book my plans changed BIG TIME, beside the cookie recipe I was looking for I saw the recipe I used.  I changed the hershey kisses with Reese’s mini peanut butter cups… ENJOY.

Kitchen implements I used:

  • Nemo the KitchenAid
  • large baking sheet
  • parchment paper
Ingredients

Ingredients

Ingredients:

  • ½ C white shortening
  • ½ C smooth peanut butter
  • ½ C granulated white sugar
  • ½ C golden brown sugar, packed
  • 1 tsp baking powder
  • ⅛ tsp baking soda
  • 1 egg
  • 2 TBSP milk
  • 1 tsp vanilla
  • 1¾ C white flour
  • ¼ C granulated sugar (reserved)
  • 1 package of mini peanut butter cups

Instructions:

Pre-heat oven to 176°C / 350°F 

Step 1-4

Flour, milk/egg/vanilla, sugars/baking powder/soda, shortening/peanut butter

1. Put shortening and peanut butter into mixing bowl.

2. Put the ½ cup of granulated sugar, brown sugar, baking powder, and baking soda, in a separate bowl.

3. Put milk, egg, and vanilla in a separate container.

4. Put flour in a separate bowl.

Nemo doing his thing

Nemo doing his thing

5. Beat “Step 1” ingredients with an electric mixer for 30 seconds.

6. Add “Step 2” ingredients and beat until combined, scraping the bowl.

7. Beat in “Step 3” ingredients.

8. Beat in as much of “Step 4” ingredient as you can, stir in the rest.  I am guessing this was written for those that do not have access to a Kitchen Aid… cuz Nemo KICKS ASSSSSS and has no issues mixing in almost 2 cups of flour.

mmmmmmmmmmmmmmmmmm  Peanut butter balls in sugar

mmmmmmmmmmmmmmmmmm Peanut butter balls in sugar.

9. Roll the dough into 1-inch balls, and roll them in the rest of the sugar.

10. Place balls 2 inches apart, (ballroom) am I right fellas?  Ahem.. anyways back to the topic at hand.  2 inches apart on an ungreased cookie sheet.

11. Bake at 350°F for 10 – 12 mins or until edges are firm and bottoms are lightly browned.

12. Immediately press a mini peanut butter cup into the middle of each cookie, and transfer to a wire rack and let cool

Cooling

Cooling

Verdict:  As I said to my buddy from work whom I sent a pic of these to after making them… “I AM A MUTHER$&#*^$ GENIUS!!!”  These far exceeded my expectations, I was thrilled with how great these  turned out.  SpatulaGoddess was so impressed she wants me to make more… But isn’t willing to let me play with the centres.  I know there are other great things to stick in the middle of a peanut butter cookie.

Playlist: Godsmack, Disturbed, Slipknot, Random J-pop… that’s how I roll

Patty’s lemon yo-fu

If you are tired of your spousal unit eating all your desserts, make something they won’t touch. Fruit! Citrus! Yogurt! TOFU!

IMG_2000

It’s kind of weird but good. This was inspired by my Healthy Desserts cookbook. I added banana and yogurt because it was tasting rather blah without it.

IMG_1991

Time required: 30 min

Yields: 4

Total cost if you have none of the ingredients: $26

Cost per portion: $6.50 (almost as ridiculous as going to Booster Juice actually)

Kitchen implements I used:

  • bad ass blender
  • zester
  • juicer

Ingredients:

  • 1 package of extra-firm silken tofu, drained
  • 1 lemon, use zest and juice
  • 1 banana
  • box of raspberries
  • ¼ C honey
  • 4 heaping spoonfuls of vanilla yogurt

Instructions:

1. Blend the shit out of the tofu. Which is harder than it sounds.

IMG_1992

2. Zest and juice the lemon.

IMG_1993

3. Throw everything in the blender except the raspberries and puree or whatever until it’s smooth.

IMG_1999

4. Chill for a bit, add berries, voila!

IMG_2000

Verdict: I liked this but I’d like it better if it came out yogurt smooth, it was a bit gritty going down. It tasted good. I doubt Boyfriend will eat it. His eyebrows almost shot off his face when he saw me pickup tofu at the grocery store (which by the way was in the deli aisle).

Playlist: construction

Patty’s apple strudel explosion

If a pastry explodes in the oven, does it make a sound? More importantly, does it still taste good?

IMG_1985

I researched how to make traditional strudel pastry but it sounds like a nightmare so, not today. I trawled the entire grocery store looking for phyllo pastry and discovered it’s kept near the frozen berries. This is my first strudel and I’m pleased with the results, however next time I’ll add raisins and reduce the lemon juice.

Shout-out to Boyfriend for being my camera man.

IMG_1980

Time required: 1.5 hours

Yields: 6 pieces

Total cost if you have none of the ingredients: $24

Cost per piece: $4

Kitchen implements I used:

  • large baking sheet
  • parchment paper

Ingredients:

  • 3 apples
  • 3 TBSP golden brown sugar
  • 2 TBSP water
  • ½ tsp ground cinnamon
  • ⅛ tsp ground nutmeg
  • 2 TBSP powdered corn starch
  • ¼ C lemon juice
  • 4 sheets of phyllo pastry
  • 2 TBSP melted butter
  • 3 tsp finely ground bread crumbs

Instructions:

1. Pre-heat oven to 350°F / 176°C. Line baking sheet with parchment paper and dust with flour.

2. Peel, core, and mince the apples. Toss them in a sauce pan with the water, brown sugar, cinnamon, and nutmeg. Bring to a simmer and cook on Med-Low for 10 min, stirring often.

IMG_1923

3. Combine corn starch and lemon juice, whisk until smooth, then add to cooked apple mixture and simmer for 1 more minute before removing from heat.

IMG_1922

We do not want juicy strudel.

IMG_1936

4. Place one piece of phyllo on the baking tray. Brush with butter, and sprinkle one teaspoon of breadcrumbs. Don’t stress about making this even, doesn’t really matter.

IMG_1925

Do this two more times, then add fourth and final layer (do not add butter or crumbs to top layer).

IMG_1930

5. Spoon the filling down one side vertically, leaving room at the edges.

IMG_1944

Give camera man 2 thumbs up.

IMG_1949

6. Use the parchment paper to support the pastry as you lift it, you’re trying to tuck it over and under the apple filling, and then carefully roll it over like so. Once you’ve got the first turn, peel the parchment paper back towards you.

IMG_1950

IMG_1951

Keep turning it, and between turns try to smooth it with your hands to an even shape.

IMG_1952

This was a little nerve-wracking, worried about tearing it.

IMG_1958

Roll it up 3-4 times until it’s at the edge.

IMG_1961

7. Brush butter inside the open edge then flip it so the seam is on the bottom. Tuck the ends in.

8. Dust with a cinnamon sugar mix.

IMG_1974

9. Bake 20-25 min until golden brown.

10. Cool on rack at least 5 min before serving. Mein gott! What is this?

IMG_1981

Verdict:

You want to get judged harshly? Tell people in advance you are using phyllo instead of making the pastry yourself. 

Response from best friend: “0_0 That is really shocking.”

This was fairly simple to make. Aside from the explosion, it turned out great. I may have had a tantrum when I saw that, but I cut it in thirds first, and got 4 nicely sliced pieces, and 2 messy pieces. Cutting through the strudel after it’s baked it harder than I anticipated.

Playlist: Eric Carmen – Hungry Eyes